Party-in-Place

A to-DYE for Collab: Oh Happy Day x F&F Tie-Dye Treehouse Party!

IMG_0035.JPG

Oh, why hello there! It’s been a minute and I’ve definitely missed you all. In a short span of 2 months, I got engaged, married, and moved across to country to sunny Arizona! My socially distant party tutorials have gotten the shaft, but I trust that you have been having fabulous socially distant fun in the interim. Before my trifecta of life changes, I partnered up with Oh Happy Day to create the finale in my Party-in-Place tutorial series, and we settled on something very covid-friendly, awesome, and fashionably speaking.. all the rage: tie-dye! All the decor & tabletop items can be found in their Oh Happy Day Party Shop (linked below)!

IMG_0020.JPG
IMG_0021.JPG
IMG_0023.JPG
IMG_0022.JPG
IMG_0017.JPG

This party was extra special to me because I did it in Michigan with my nieces 2 days before we left for Arizona; and specifically for my 12 year old niece that had a shelter-in-place birthday parade in May during the peak of Michigan’s coronavirus prevalence. I am super close to my nieces, so it was extra special to leave on a very high note.

IMG_0030.JPG

Oh Happy Day has an awesome watercolor fans tutorial for white tissue decor that I followed with some small changes, and also added honeycombs and garlands to the mix.

IMG_0036.JPG

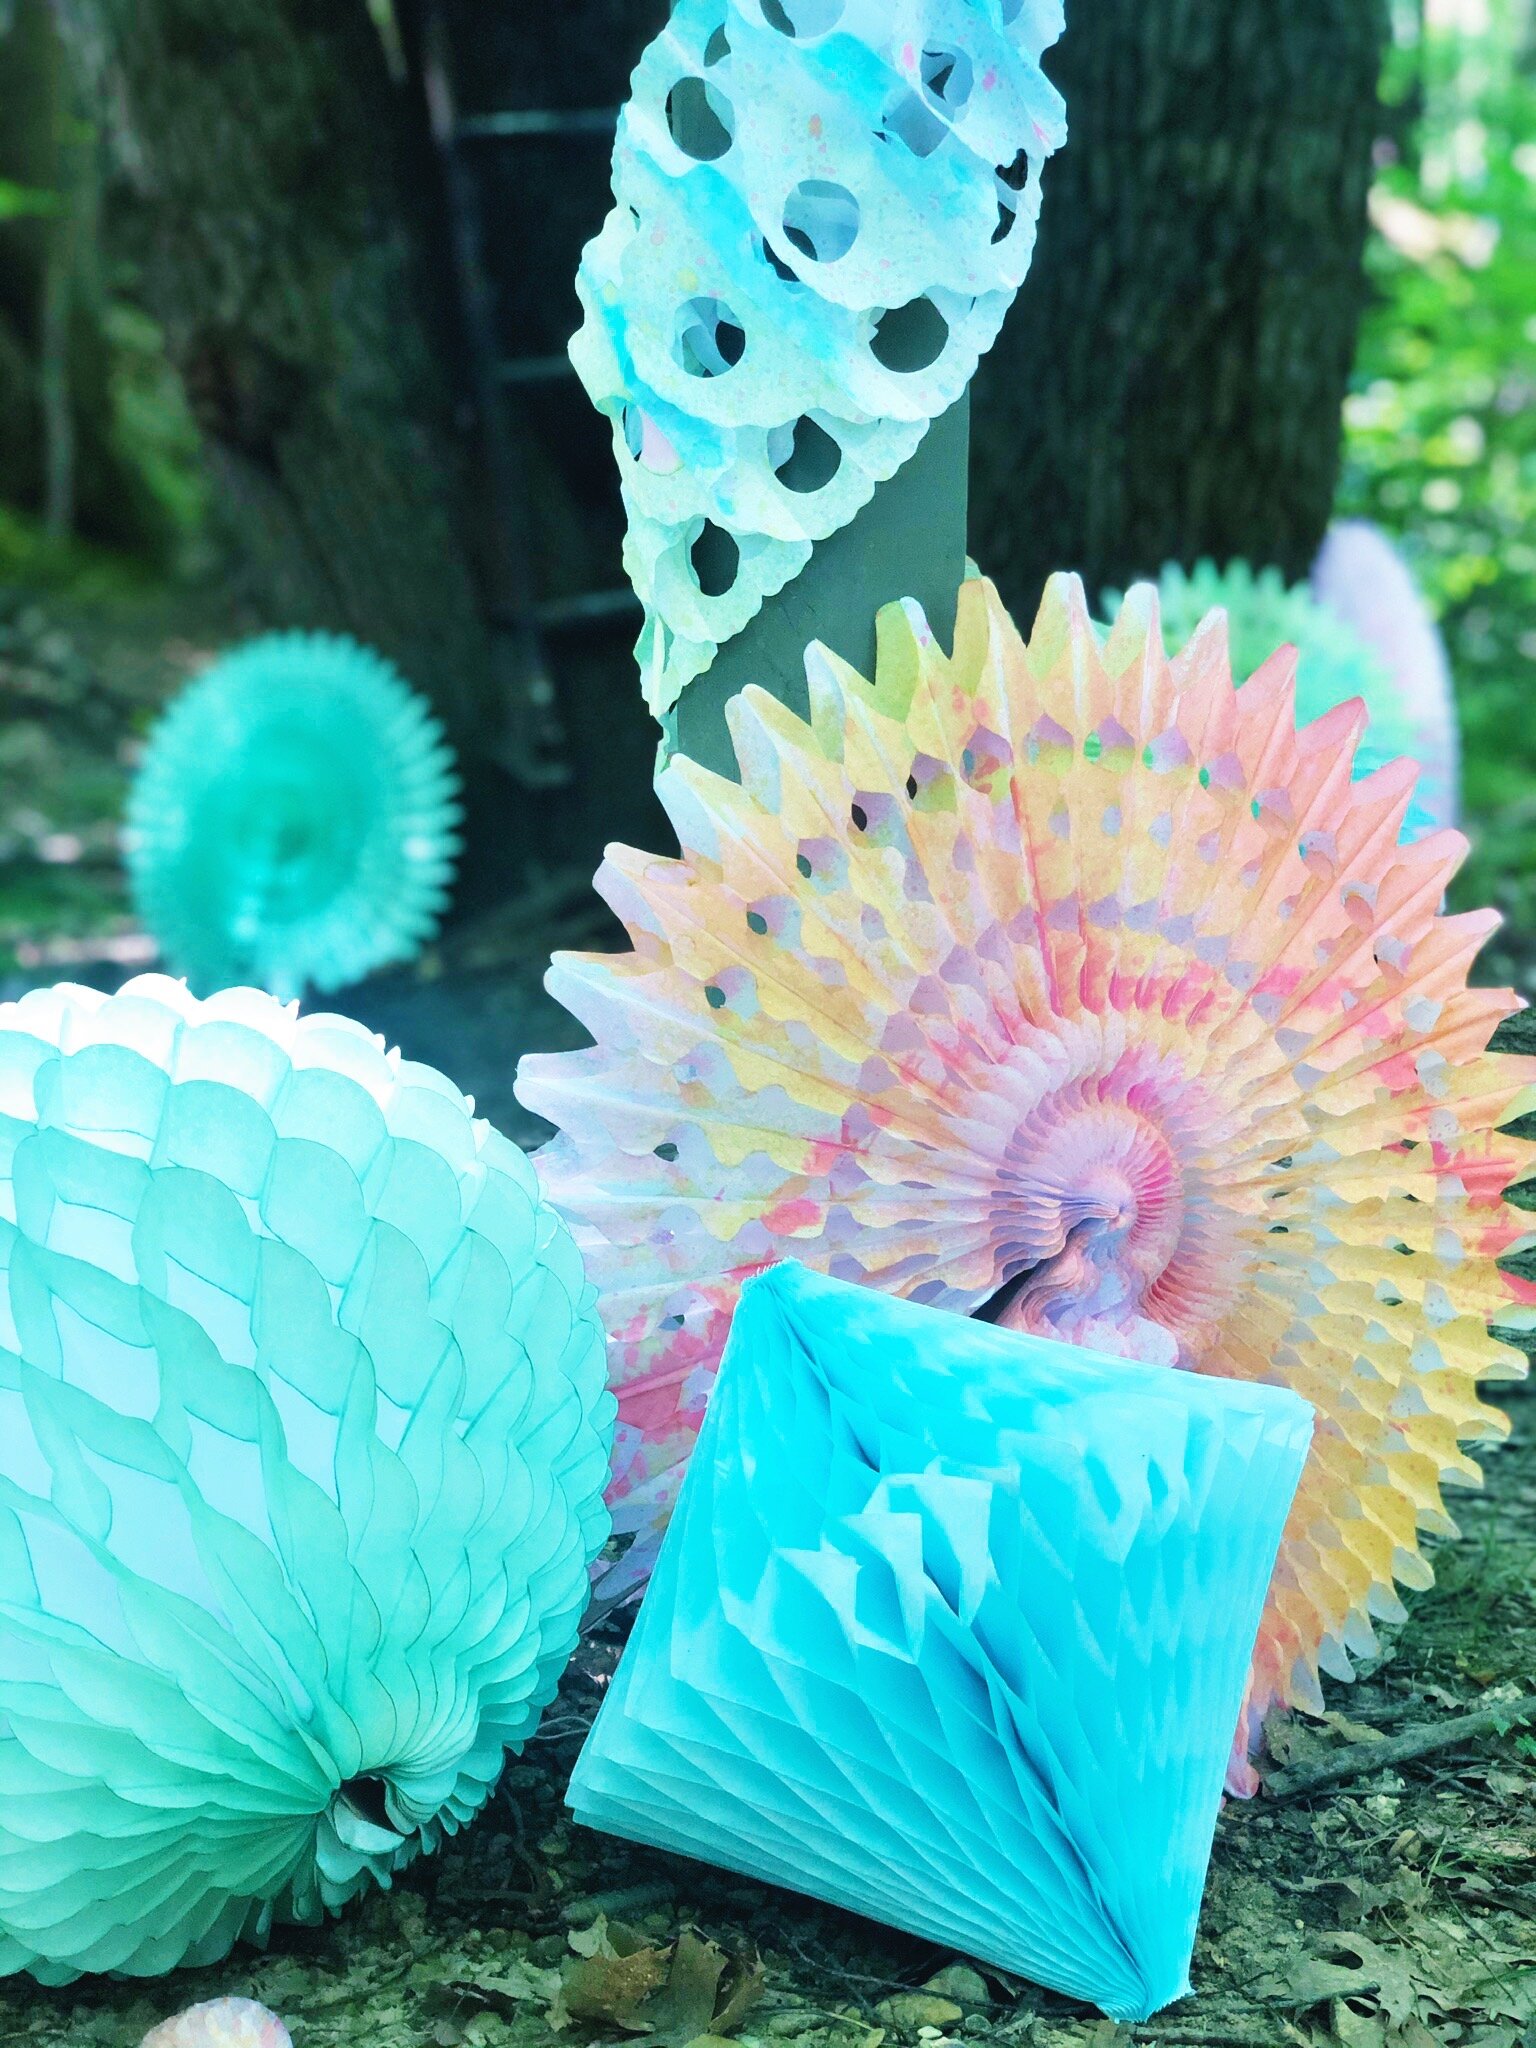
The original tutorial calls for India Ink to dye the fans, but I didn’t have any (and it’s $35) so I substituted that for good old Wilton Gel Food Colors and the results were pretty great! It’s a little more difficult to manipulate the colors with food coloring, but I wanted the tie-dye to be slightly muted. Vary the concentrations of your water/food coloring and the consistency of the stream on your spray bottles. In the end, use a more concentrated solutions and the stream mode (not spray or mist) to spray on some harsher lines to give it those quintessential tie-dye characteristics.

IMG_0037.JPG

To dye the honeycombs, open them up and just use a little scotch tape to keep them from closing (not the adhesive tabs they come with… save those for your actual event). Make sure you rotate them as you spray so that you don’t have a gap of white.

IMG_0029.JPG

Like the tutorial states, try to separate warm and cool colors so that they don’t mix and produce brown splotches and make your decor look dirty. After they partially dried, if I found white spots, I would add a contrasting color… a little blue on a warm palette, or a little pink on a cool palette, and I liked the variety that produced. Also be sure not to over spray, if your tissue gets too saturated, it will be more likely to rip. Alternate the settings of the spray bottles to get less uniform patterns, and be sure to partially dry your decor opened, and then close them for the remainder of the drying. The streamers are definitely harder to close, but with a little patience (and a second set of hands, if possible), it’s definitely doable.

IMG_0031.JPG

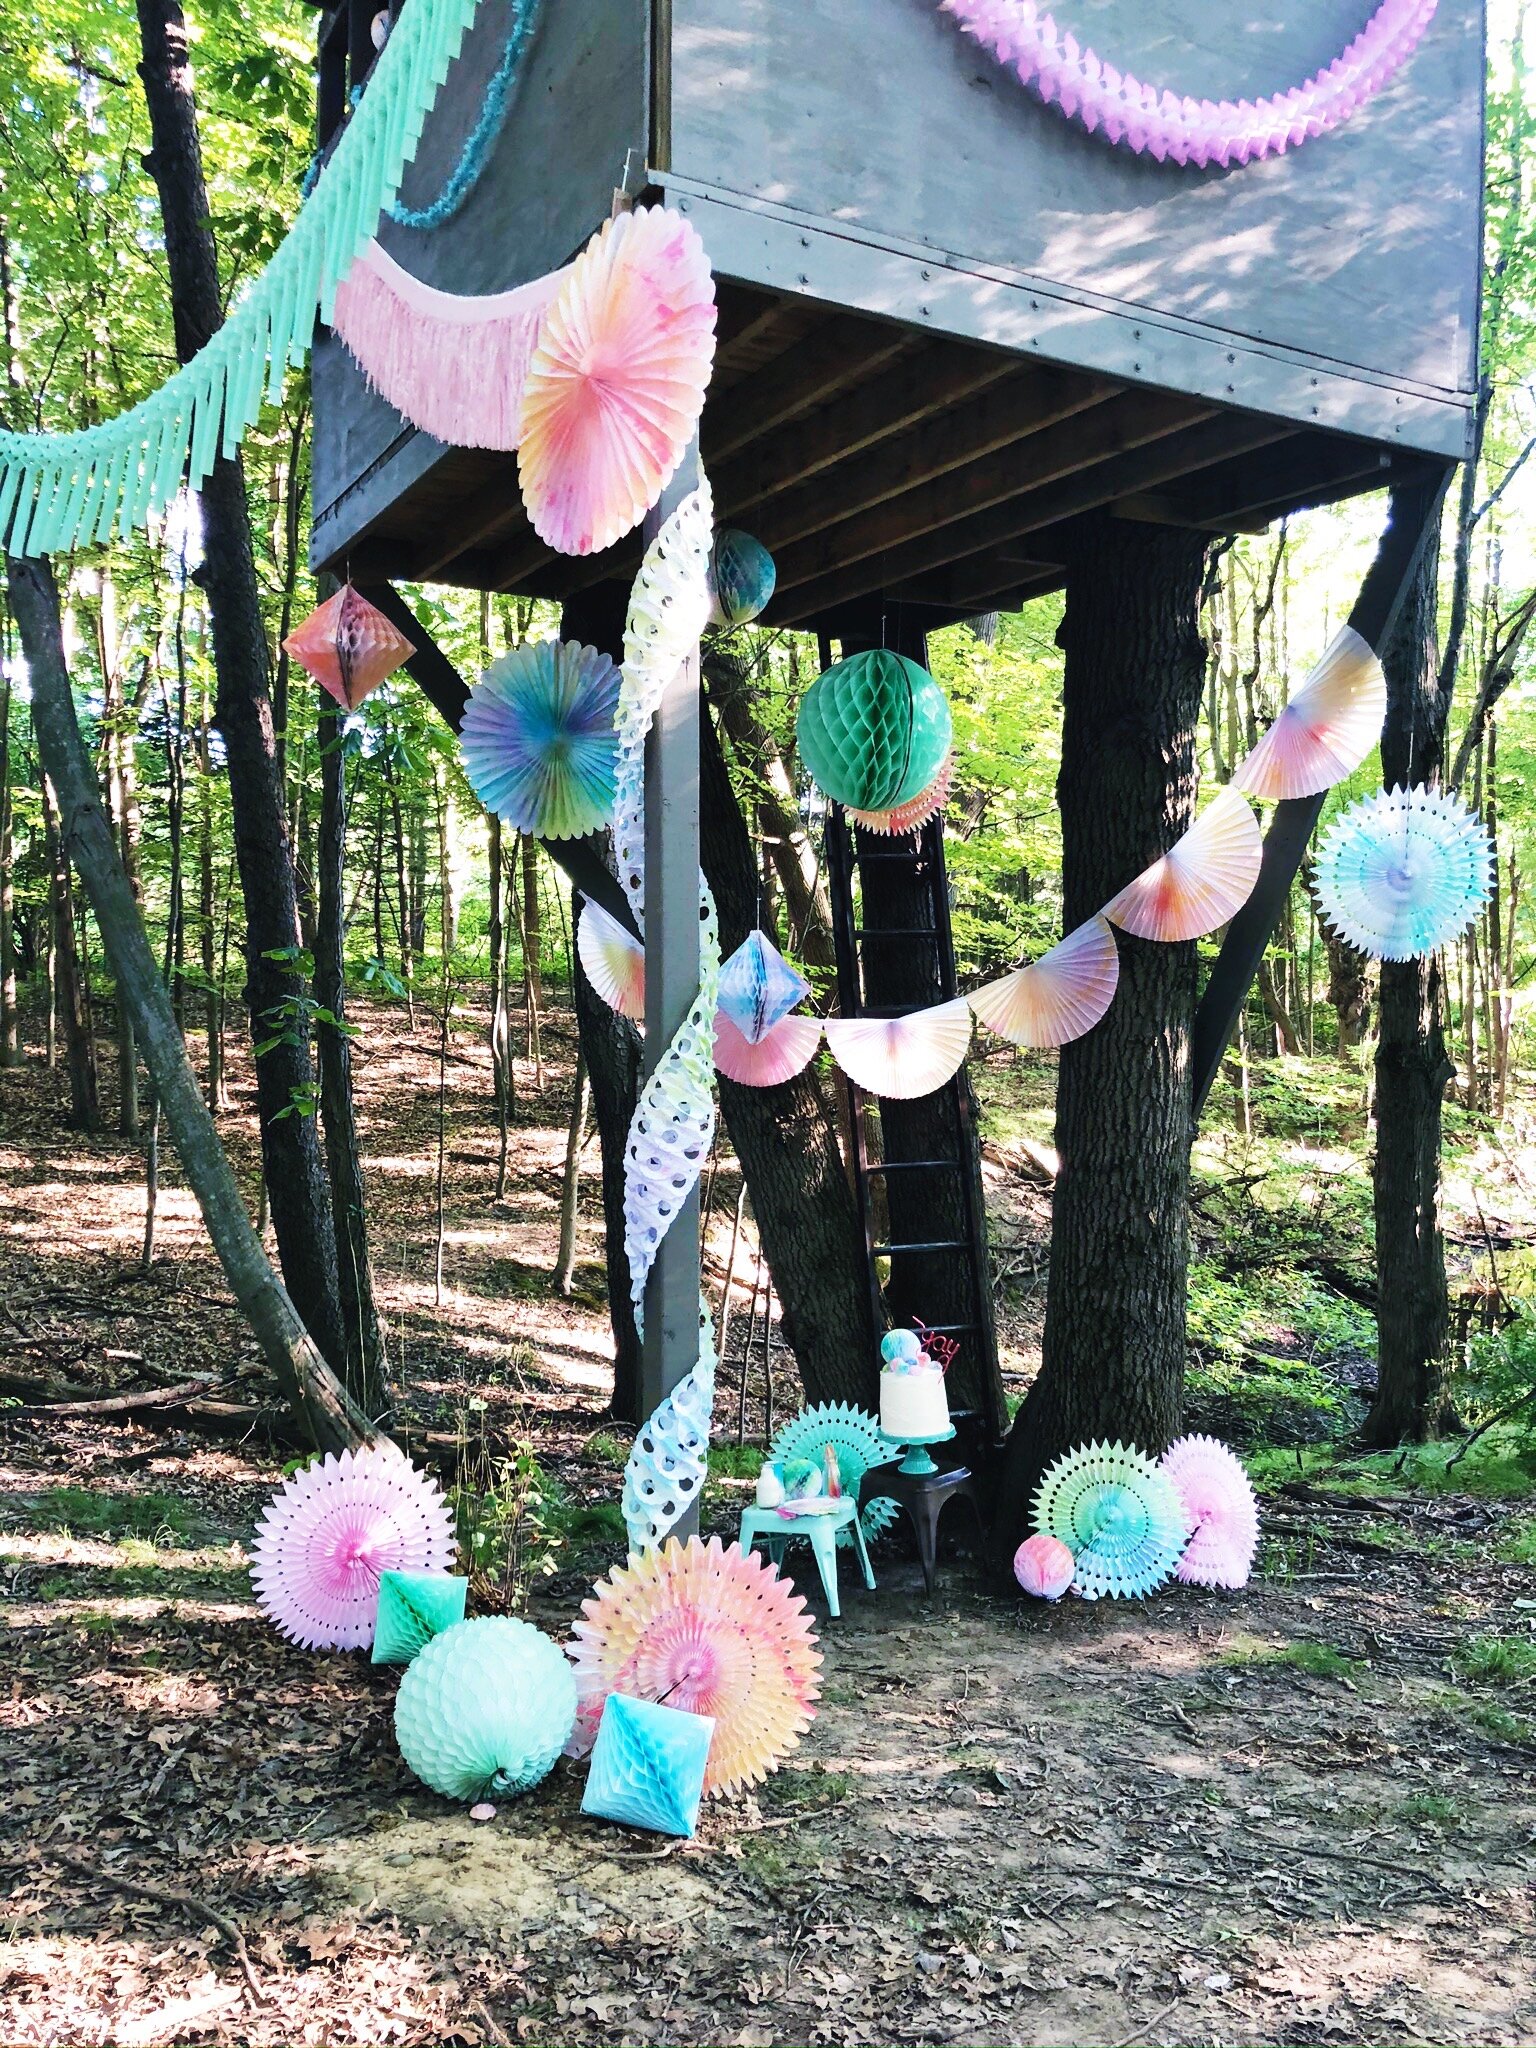
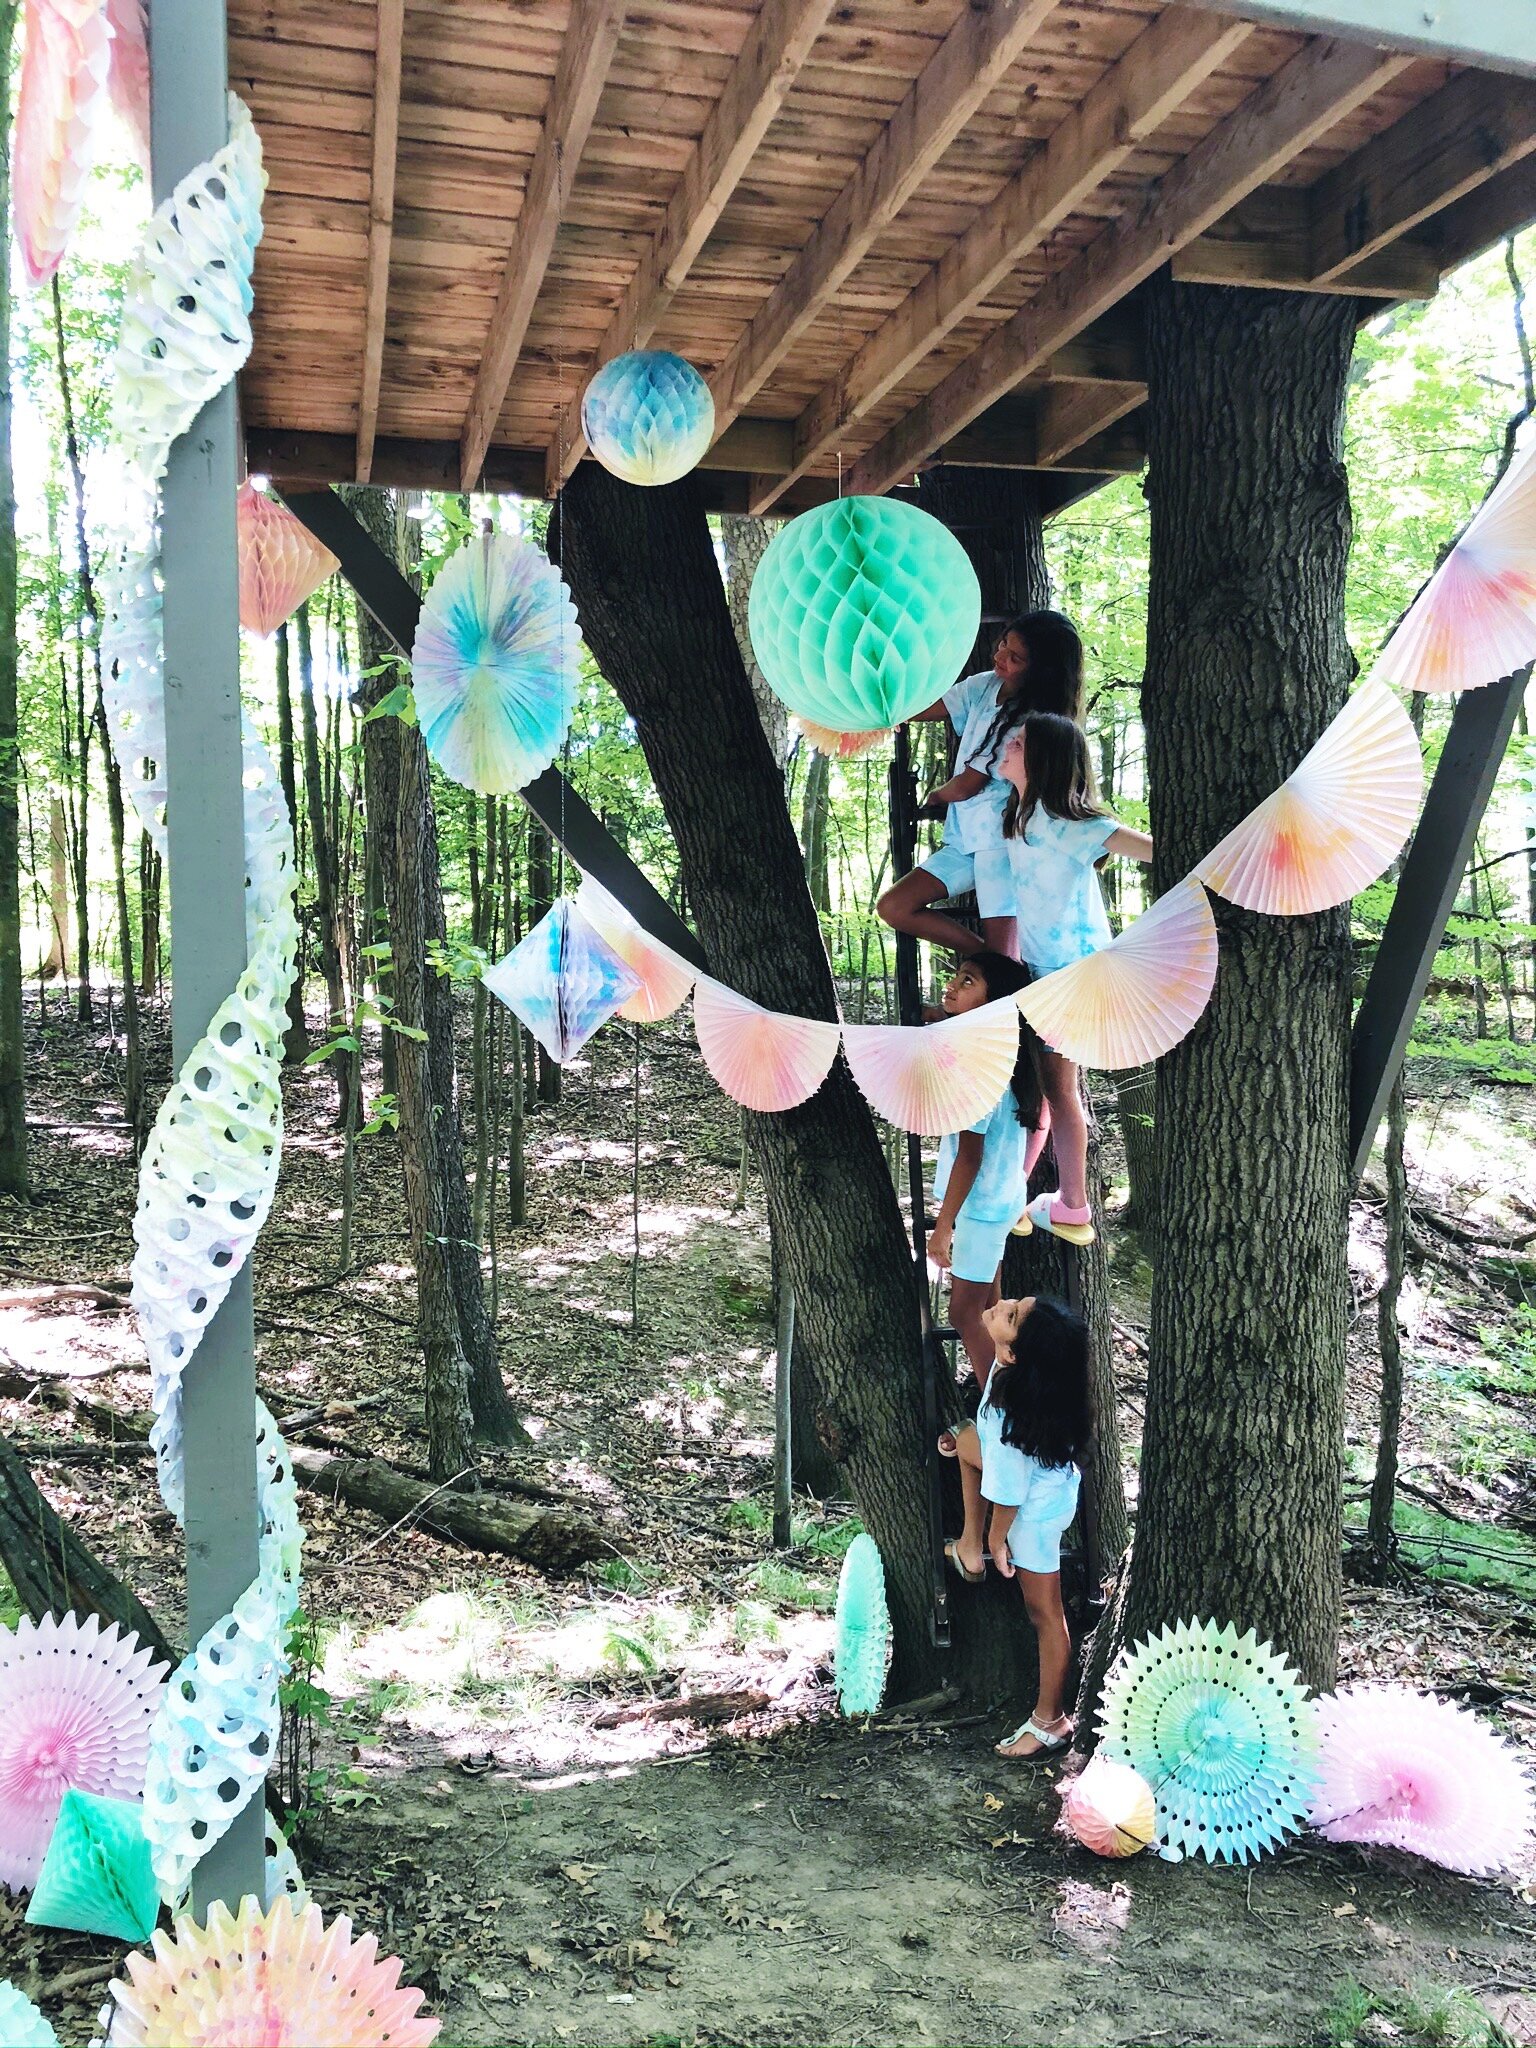
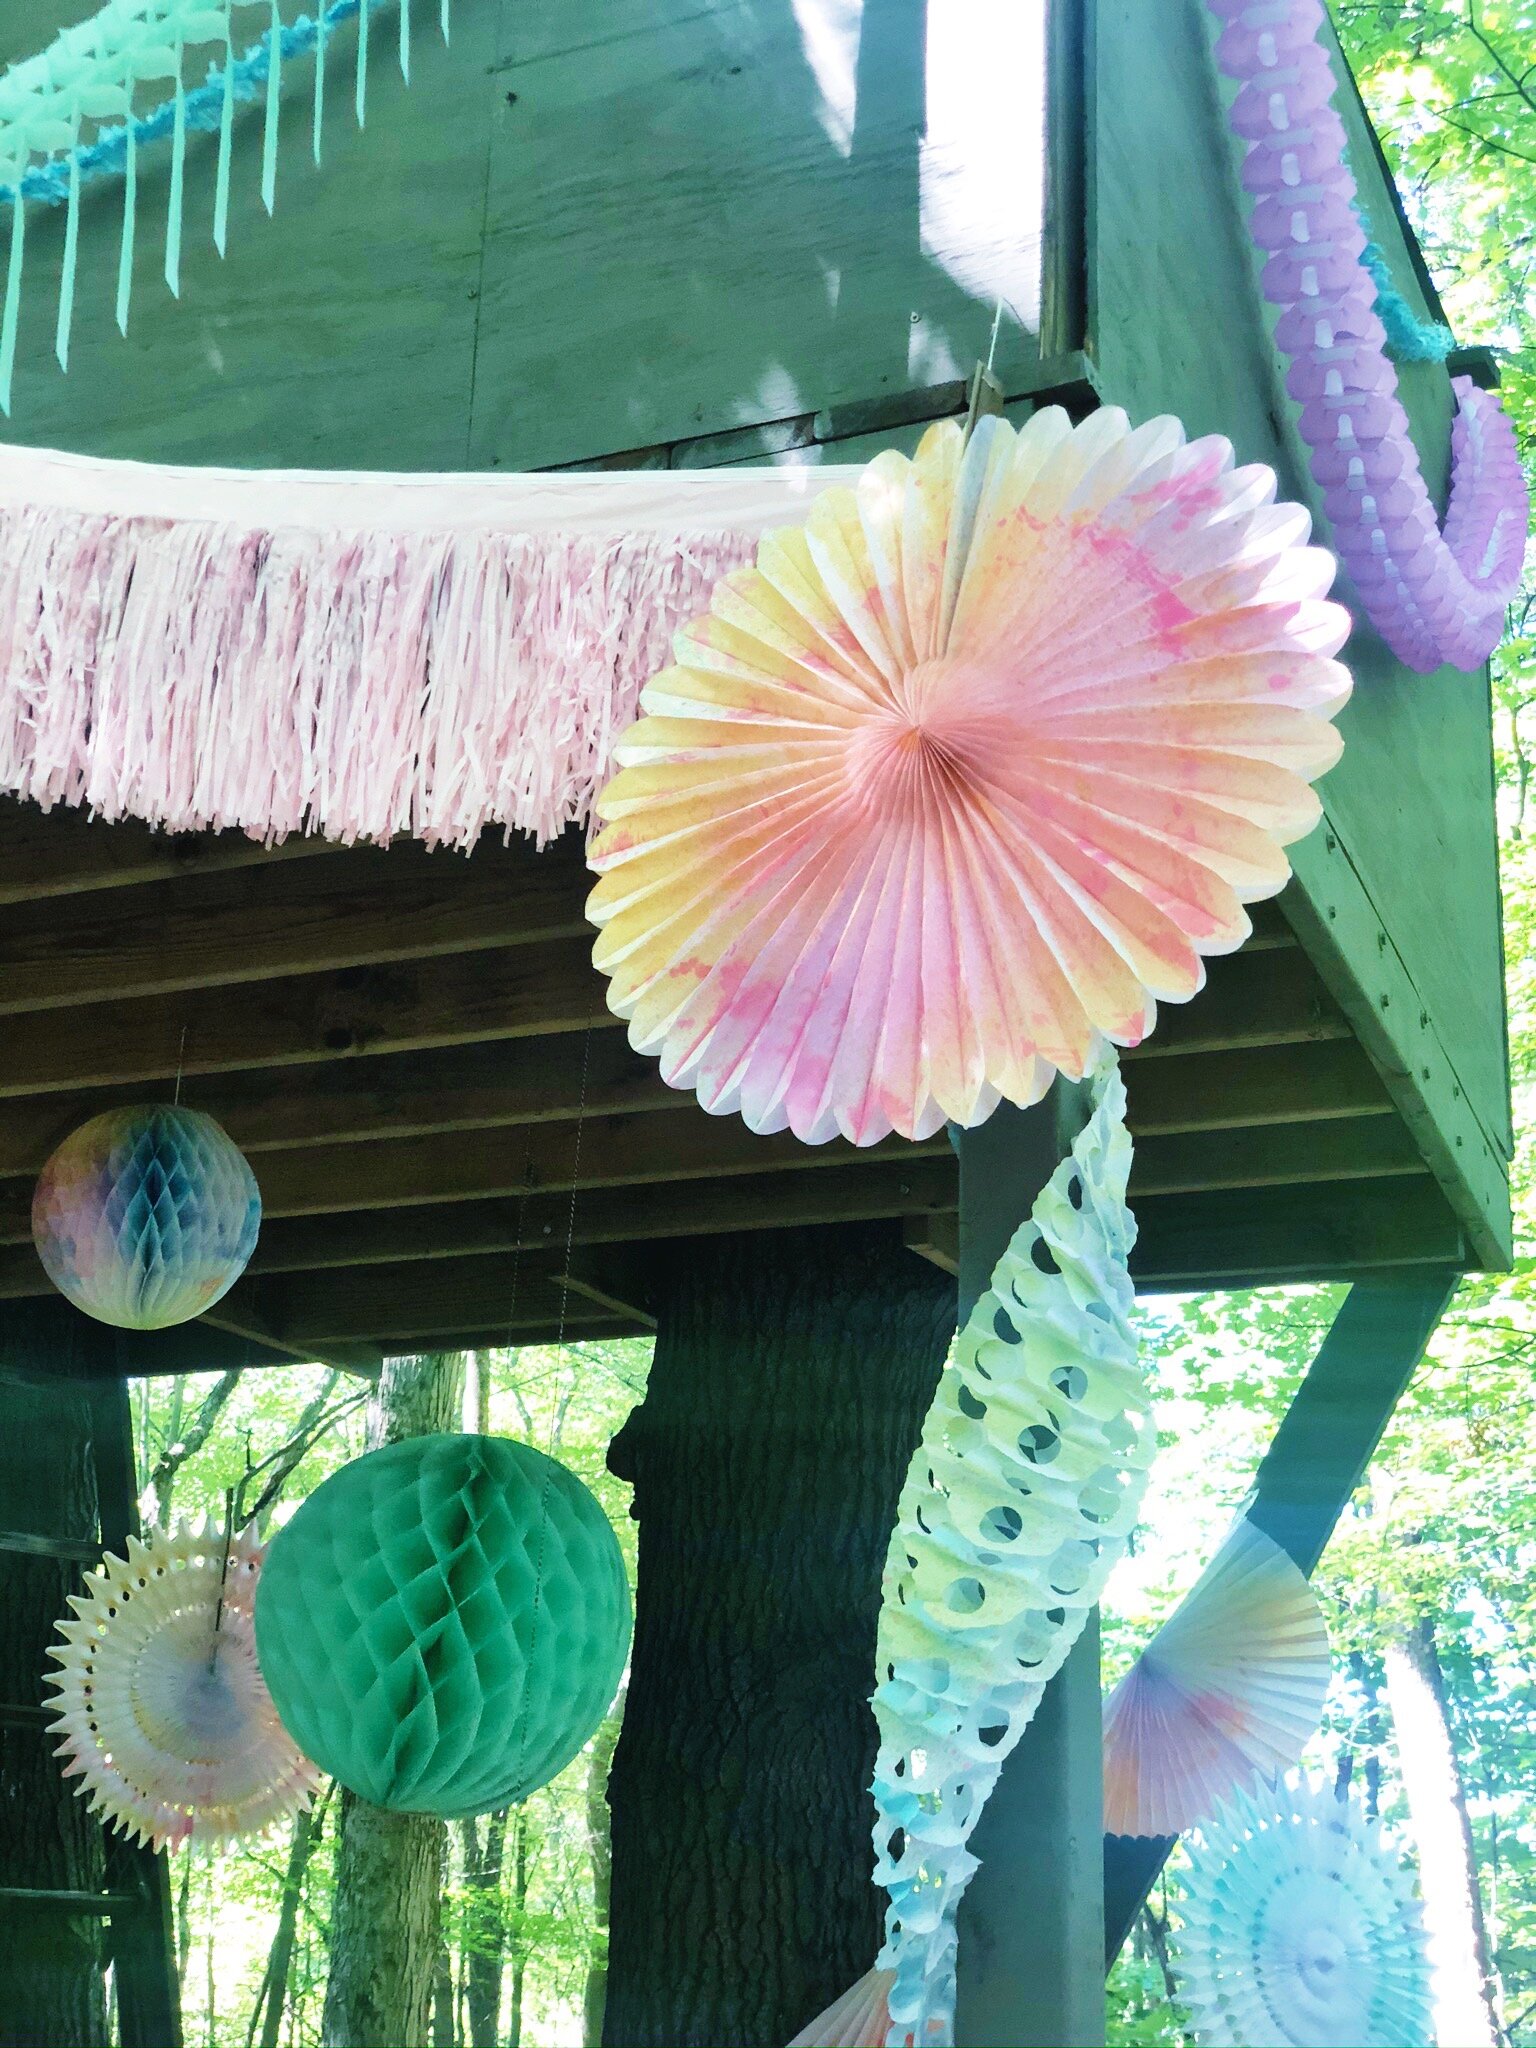
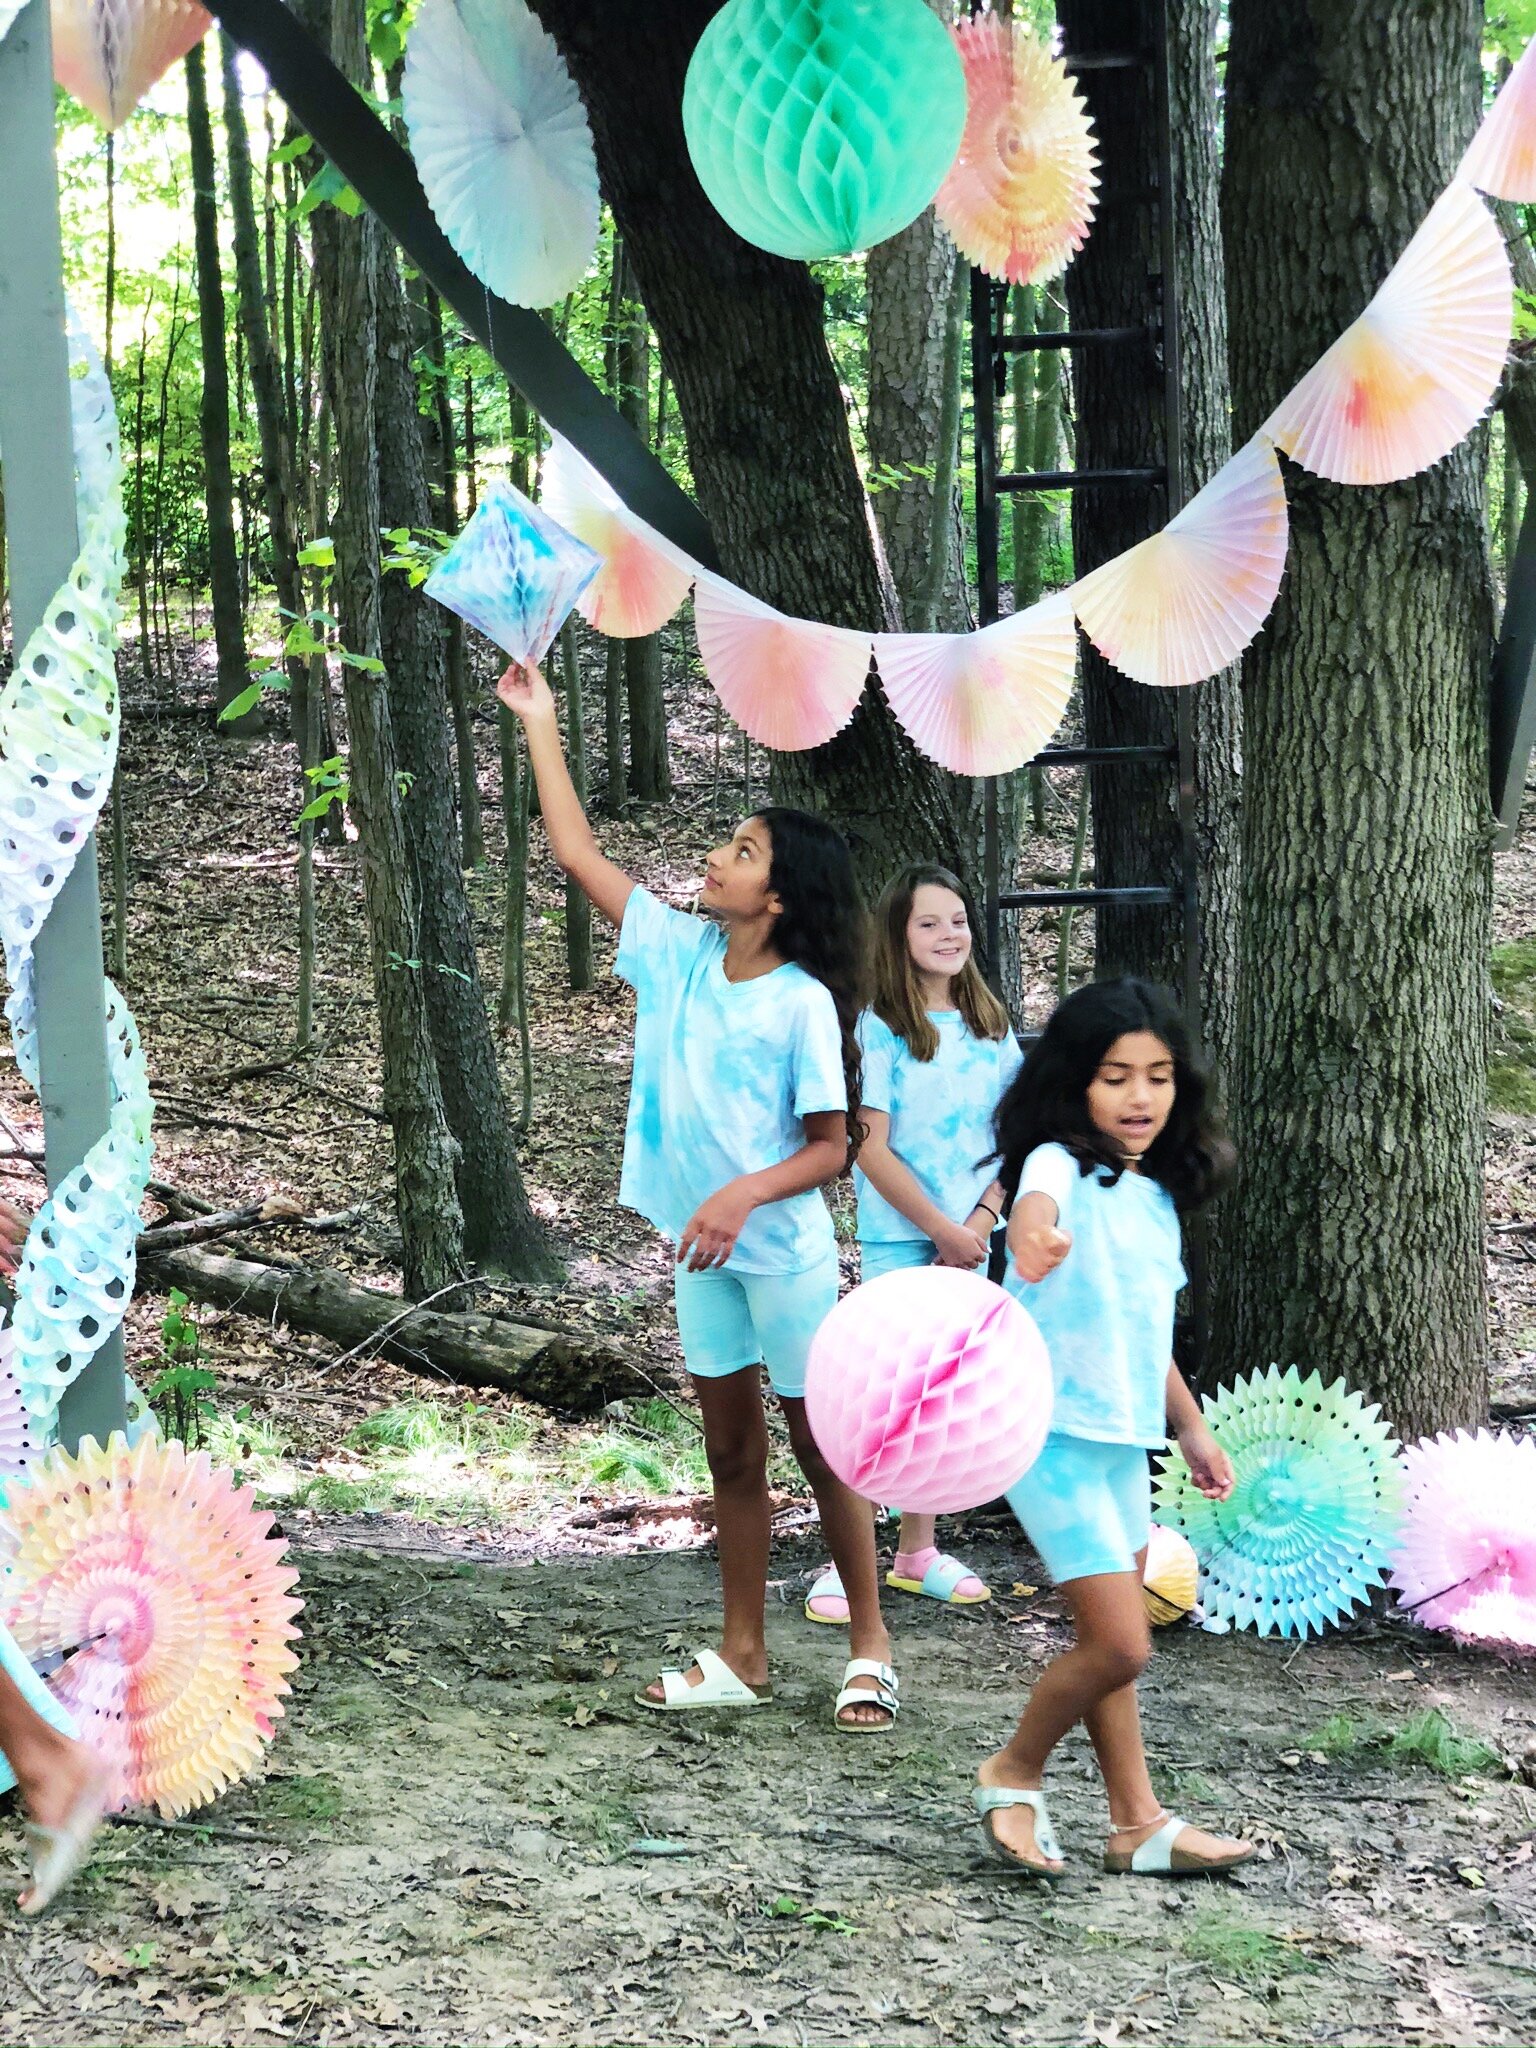
I love a contrasting backdrop for decor, so this rustic and foresty treehouse made for a great background for all the whimsical and lively colors. When placing your decor, stagger the heights of the honeycombs and fans, cluster various shapes and sizes, and avoid symmetry to give a more effortless and whimsical feel. Layer your garlands with contrasting textures… again, asymmetry is your friend here! With outdoor events, I love using decor with movement, like fringe and tassels.. it looks great when it catches the wind, and your pictures will look more lively!

IMG_0028.JPG

Now for the garbs. We bought the biker shorts sets from the kids section at Target: biker shorts ($5… a size XL fit me as a 0/2 and would probably fit up to a size 4!), and these boxy white t-shirts (I bought an XXL, size 18-20). We also found kids jogger sets on Zulily, but you can also check Amazon or Walmart. My sister and I also bought these Cat & Jack Bralettes (in XL), and they turned out SO cute! A sweatshirt + biker short combo would be very cute (and is probably in my near future to complete my set), and very model-off-duty-esque!

I love to live vicariously through my nieces whenever possible, and since I always wanted a treehouse growing up and my brother-in-law recently built one for the girls, so this ‘shehouse’ is where our party was based!

IMG_0027.JPG

We did our clumping and bunching inside the treehouse. For this step, you definitely want a LOT of rubber bands. Whatever you think you need… triple it!

IMG_0043.JPG
IMG_0044.JPG

We more or less followed the WeWoreWhat Tie-Dye Tutorial because I liked that her final products were more subtle (we actually followed the video tutorial in her Instagram story highlights). The only minor differences is that we didn’t use bleach, and we rubber banded both sides. The more clumps and clusters you do, the better your patterns will turn out.

IMG_0045.jpg

We took the party down below the treehouse for the dyeing on top of a paper linen tablecloth. (my plan was to tie-dye this before the party and use on a table, but…I forgot!). The blue set we made with RIT Tropical Teal Dye , and the peachy blush/nude set was made with RIT Sandstone Dye. If you want white streaks in your creation, do not completely submerge in the dye solution, but submerge if you want a more monochromatic look. The spray bottles were from Walmart. Make sure you wear rubber gloves for this step, the dye will stain your hands!

IMG_0024.JPG

We decided this was going to be a family affair, and all present adults and grandparents got in on the action too!

IMG_0026.JPG
IMG_0039.JPG
IMG_0042.JPG
IMG_0033.JPG
IMG_0032.JPG

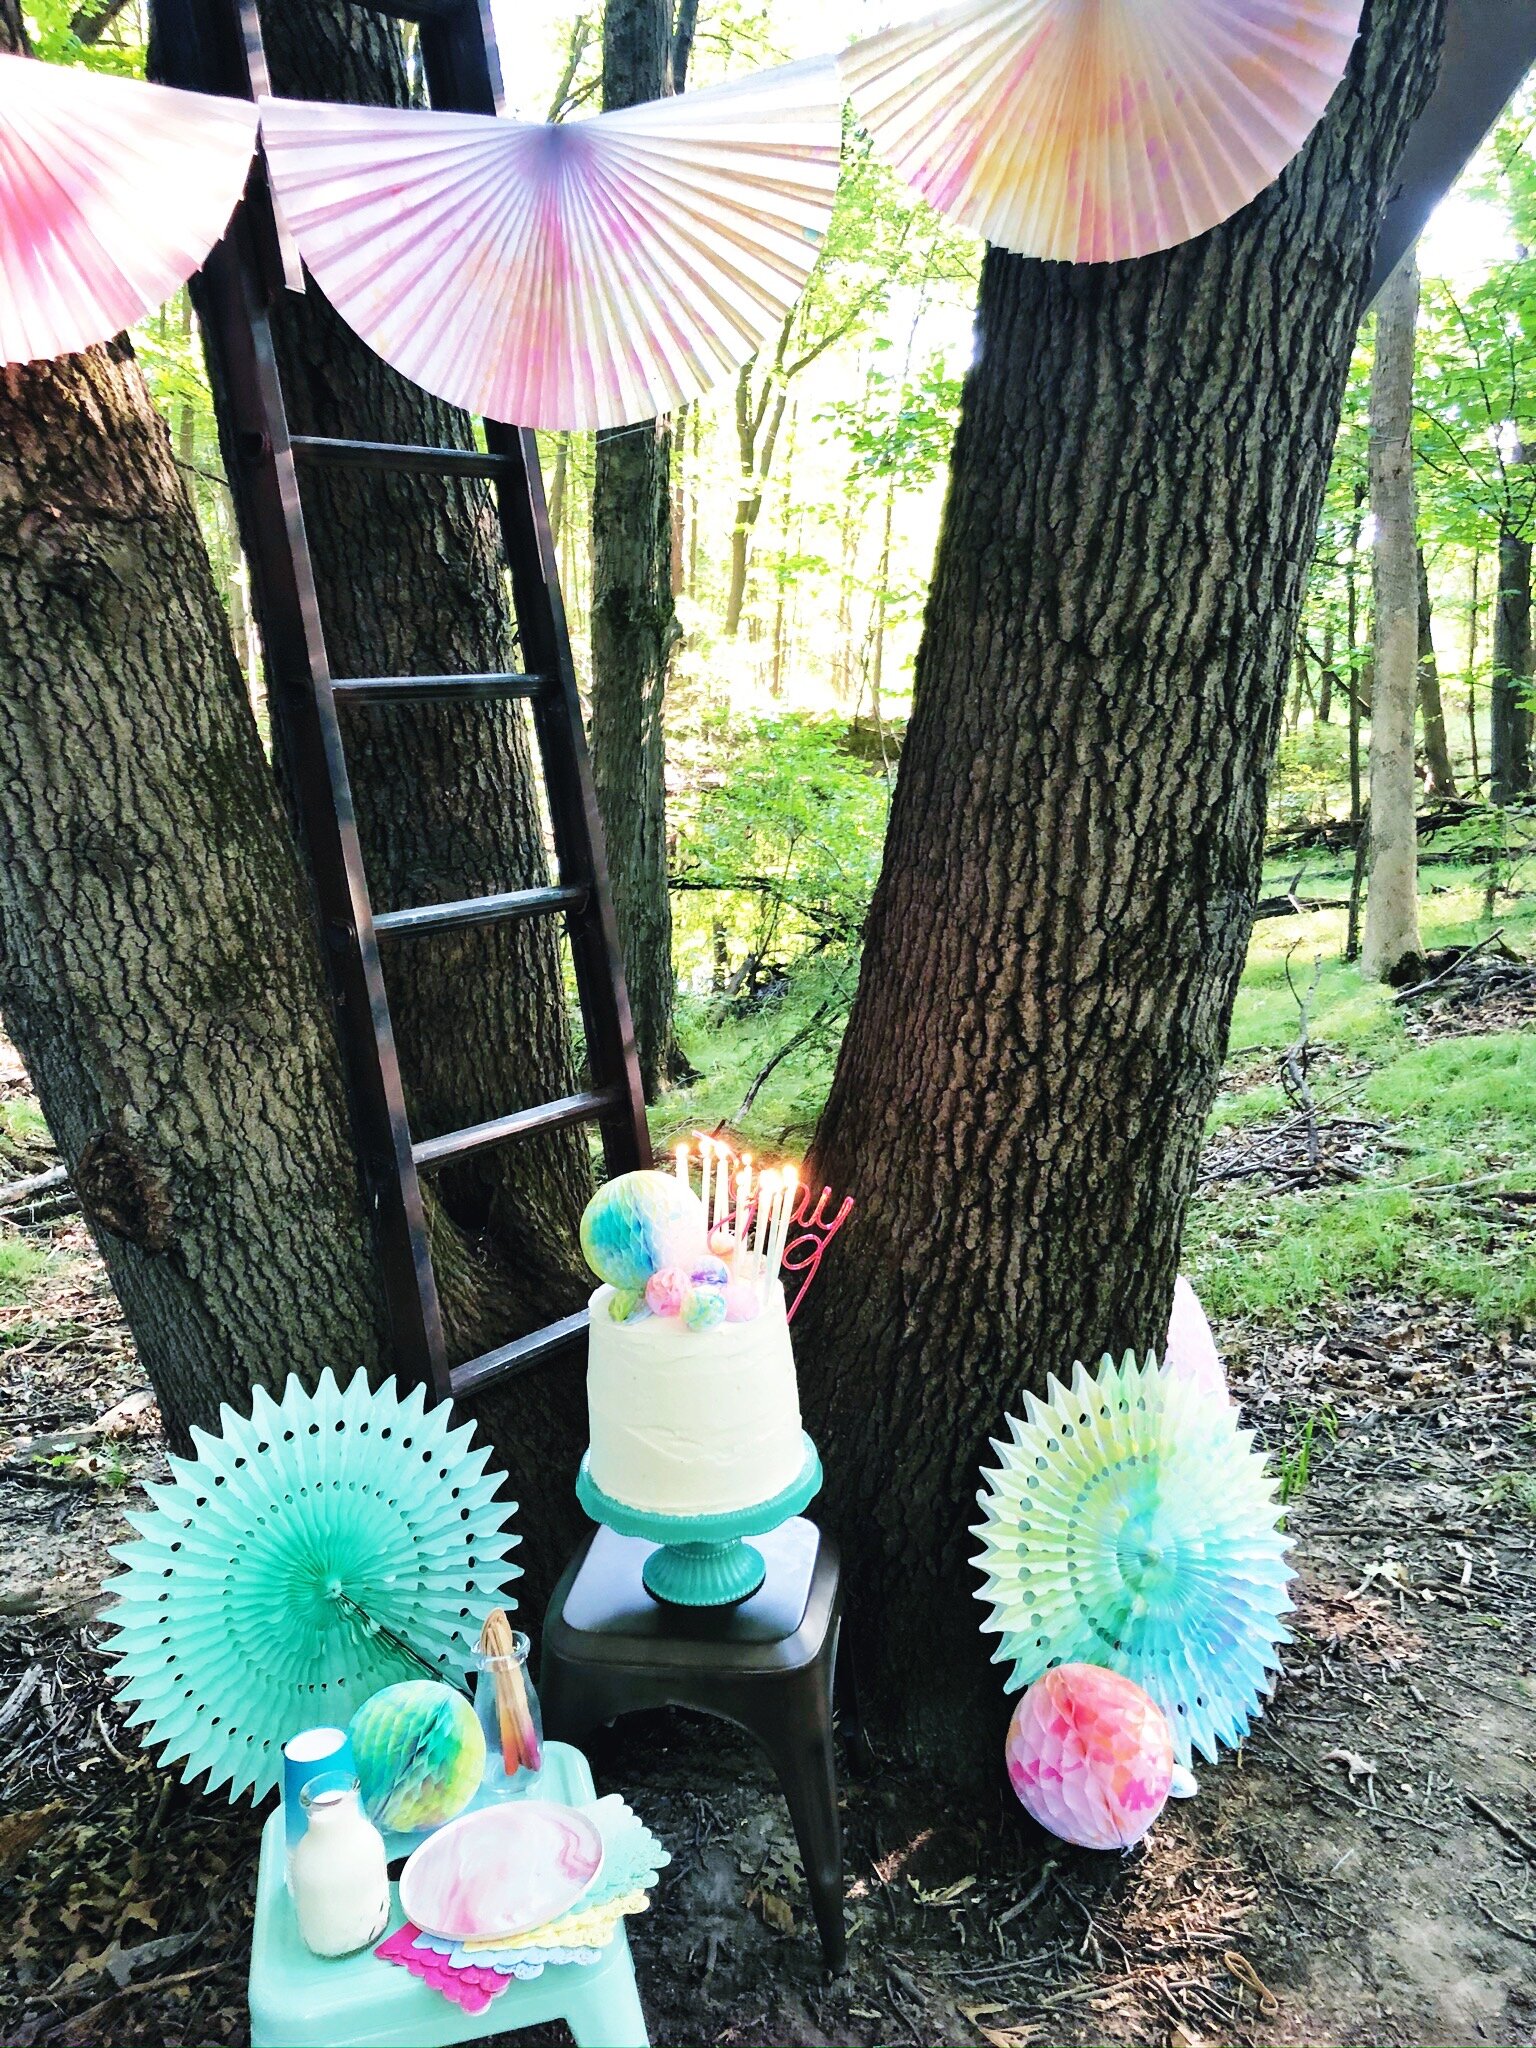
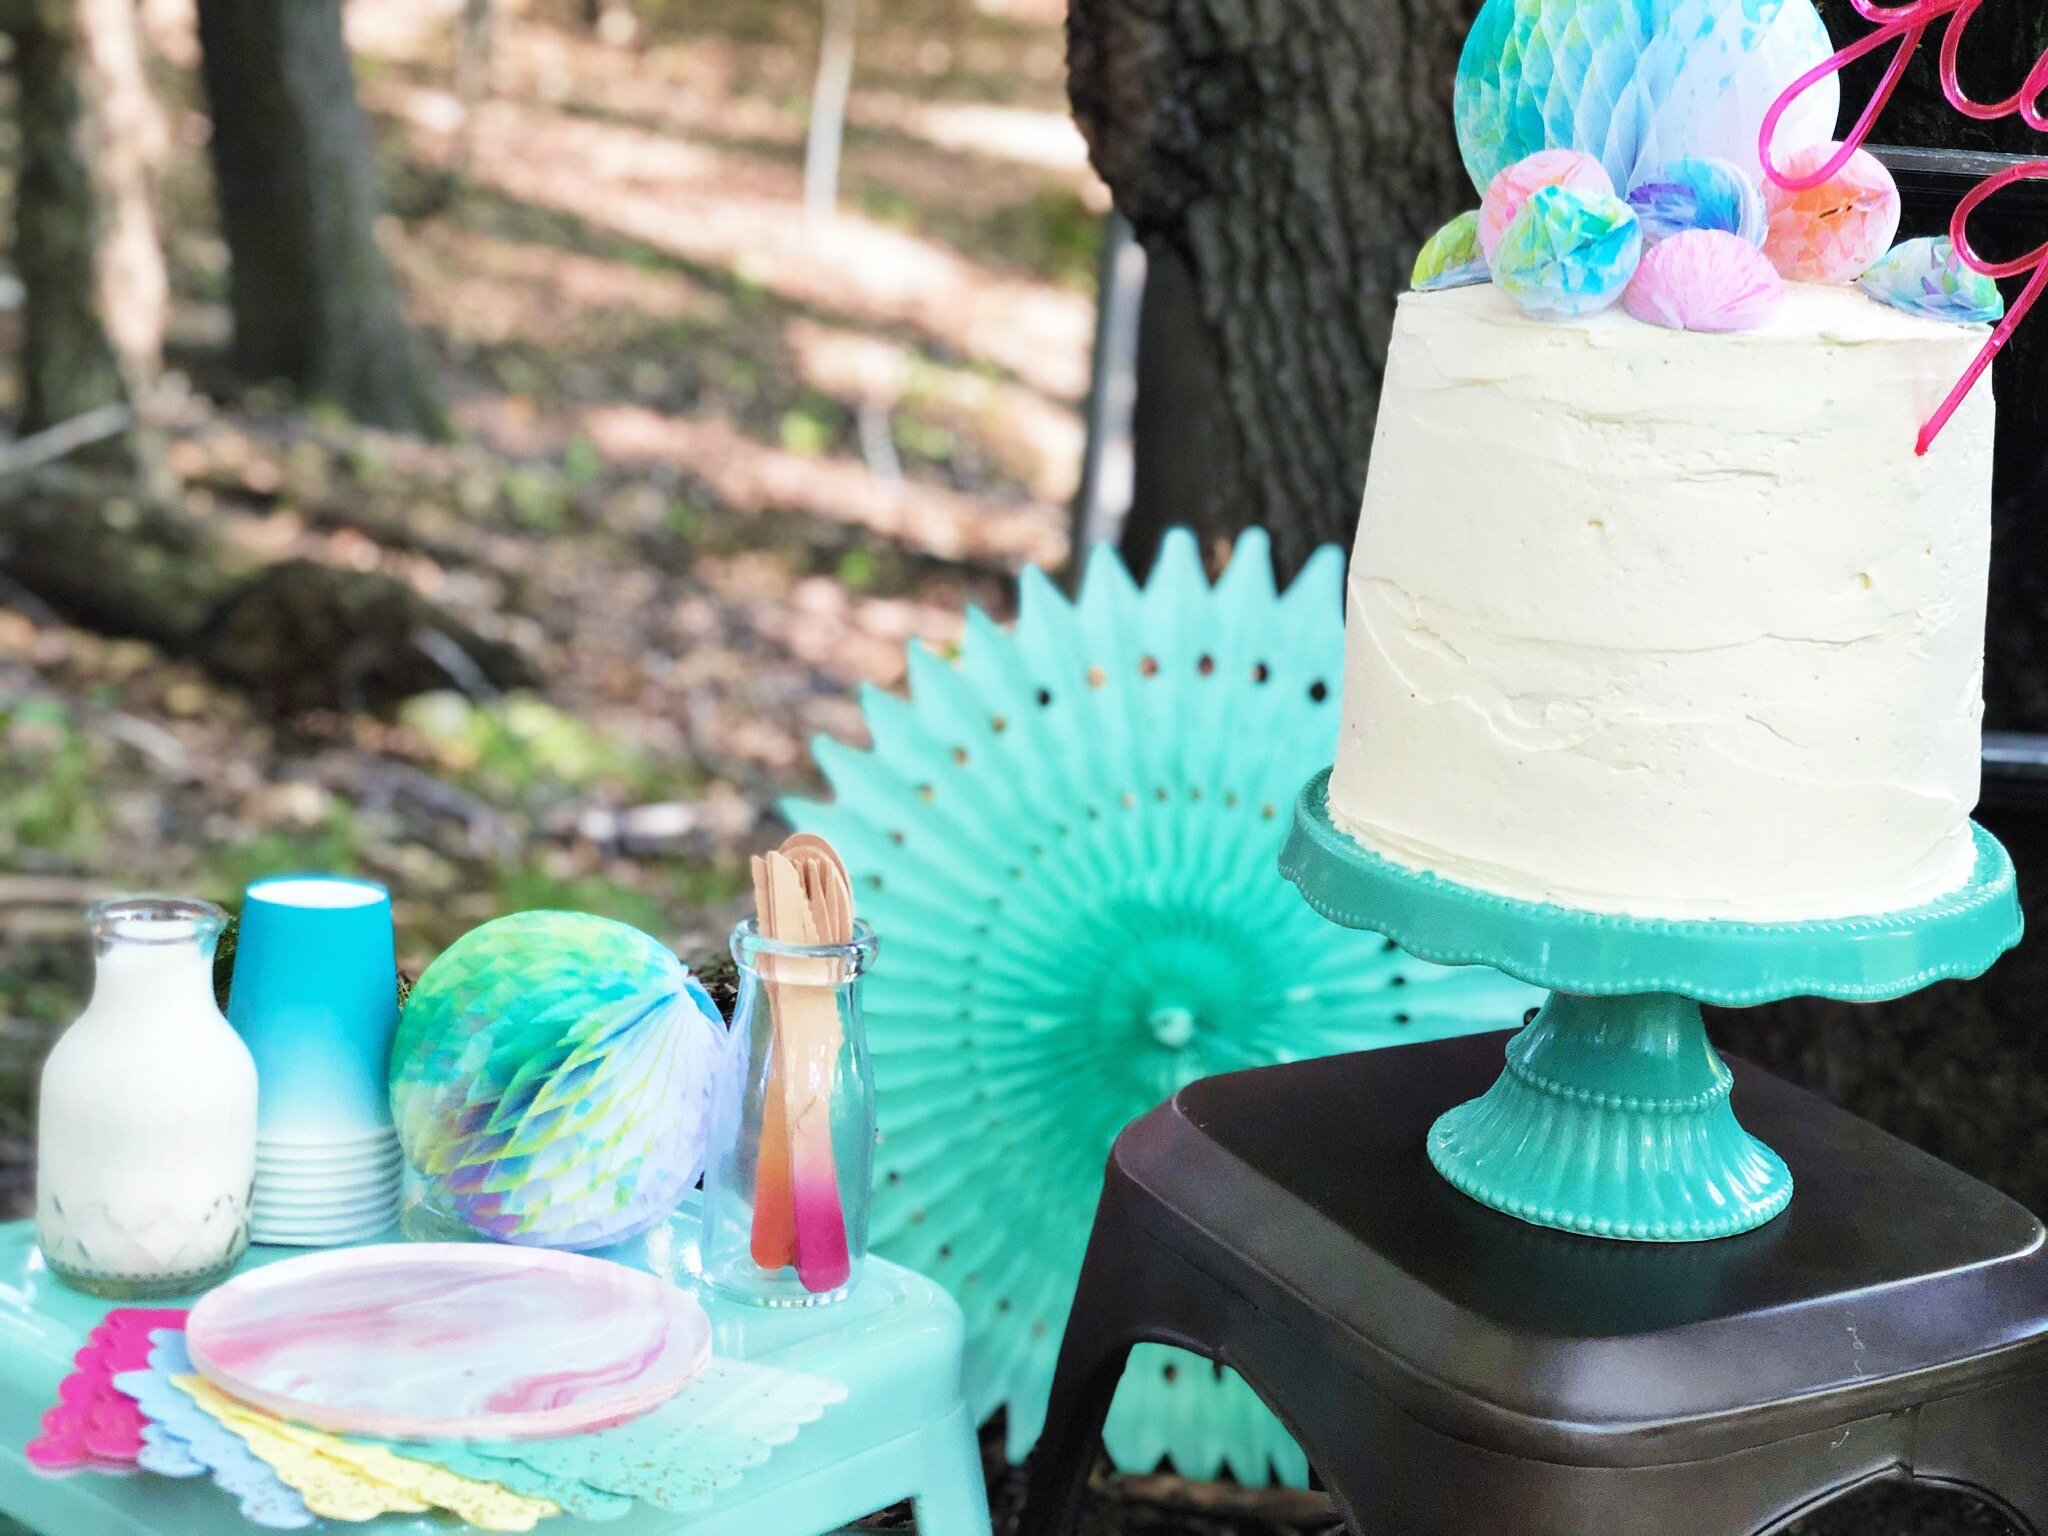
The 2” & 5” honeycombs were so tiny and cute that I decided to use them to top a plain white cake. The 2” balls are very delicate, so be sure not to saturate them when dying. The hot pink color pop “yay” was actually a straw from Target, but you can find a similar version here. The candles were technically “marbled”, but I thought they had a tie-dye look to them.

IMG_0016.JPG
IMG_0019.JPG
Tie Dye Honeycomb Cake

This party is great option for covid-safe(r) fun because it is best done outdoors, and with gloves on! And trust me, most dyes will stain your hands, so you are going to want to use gloves!

IMG_0038.JPG

We tie-dyed on top of the OHD Paper Linen Tablecloth in white, and if you handle it carefully, you will end up with a sweet tie-dye tablecloth!

IMG_0034.JPG

All the decor & tabletop products from this setup are exclusively from the Oh Happy Day Party Shop! Click the links below; I have also itemized the quantities, sizes, and colors from the setup above! If you do this party, please share your pictures with me, or tag @feteandfinery on instagram!

IMG_0011.JPG

OH HAPPY DAY PARTY SHOP SUPPLIES

[White Tissue Decor for Dying]

Tissue Paper Fan 21" (Color: White, Pink, Mint Green)

Tissue Paper Fan Deluxe 27" (Color: White)

Honeycomb Diamond 12" (Color: 2x White, Mint Green, Light Blue)

Honeycomb Diamond 18" (Color: White)

Honeycomb Puff 14” (Color: Mint Green, Lavender)

Honeycomb Mini Balls 2" (Color: White - for cake topper)

Honeycomb Ball 5" (Color: White)

Honeycomb Ball 8" (Color: White)

Honeycomb Ball 12" (Color: White, Light Pink)

Honeycomb Ball 19" (Color: Mint Green)

[Garlands]

Full Garland (Color: White)

Bunting Fan Garland (Color: White)

Streamer Garland (Color: Mint)

Festive Festooning (Color: Light Blue)

Criss Cross Garland (Color: Lavender)

Paper Fringe Garland (Color: Light Pink)

[Tabletop]

Marbled Candles (Color: Mint)

Oh Happy Day Pink Marble Plates (Small) (Color: Pink Marble)

Oh Happy Day Ombre Cups (color: Sky)

Paper Linen Tablecloths (Color: White)

Tropical Ombre Wooden Cutlery (Color: Tropical Ombre)

Ombre Napkins, Small (Color: Multicolor)

To see more socially distant Party-in-Place tutorials, click the images below:

Fiesta, fiesta! [Your Birthdate...en español] de Mayo!

IMG_7568_2.JPG

Happy Cinco de Mayo (eve)! I’m sure we would all love to have plans to be sitting on a patio somewhere tomorrow being served endless margs & guac, but there are many ways to incorporate the beautiful colors and flavors of Mexico into your own at-home celebration.

IMG_1549.jpg

Whether or not you plan on celebrating on the actual date, I love this theme for any May birthday, and did a 10th birthday party two years ago for a girl born on May 15th. We called it “Quince de Mayo” and had a fiesta at a farm!

IMG_1557.jpg

Cinco de Mayo, quite literally May 5th, celebrates the Mexican Army’s victory over the French Empire. It’s more popularly celebrated in the US than in Mexico and is associated with the celebration of Mexican-American culture. I love the lively colors and intricate details associated with Mexican decor, so it’s a dream palette to work with… and a menu you know everyone will love!

IMG_1556.jpg

This original fiesta was at a farm, but your deck, backyard, or driveway could be the perfect spot. I used my cousin’s large flat rear driveway because it reminded me of the town square’s in Mexico, and gathering for art fairs and street entertainers!

IMG_0842_Original (1).jpg

My decor search was centered around Papel Picado, “perforated paper”, or beautiful paper banners made by cutting elaborate designs into tissue paper. I found mine on Etsy (linked below), but there are also tutorials online for how to make your own. If your party is going to be outside, be mindful of the delicate nature of tissue paper. Metallic paper or a thicker paper may fare better if it’s going to be a windy day! Even though I prefer the look of the tissue paper, I used a mixture of both, and if I was ordering again, I would also do a variety of sizes. I framed the party space with these banners to give it that town square feel!

IMG_1293.jpg

In lieu of live flowers, I taped paper flowers from an old garland to the table for an asymmetric centerpiece. This came about almost by mistake, they were just sitting on the table with other decor and I thought they looked kinda cute so arranged them in the center but could have lined an entire table with them!

IMG_1397 (1).jpg

Cactus plates and napkins are a cute touch, although an odd shape! Would be perfect to eat some churros on!

IMG_1333+%282%29.jpg

Mexican grocery stores often have an amazing selection of made fresh daily salsas and chips, the best hot sauces, and the perfect kid-loved drink (and adult mixer) for your fiesta…Juarritos! My favorite flavor is grapefruit, and my favorite sparkling water is also the Mexican Topo Chico!

IMG_1392 (1).jpg

As for the menu, even the pickiest eaters tend to love Mexican food, and putting together a homemade menu of tacos, quesadillas or fajitas is pretty easy, or can be catered pretty affordably. Great sides include (of course) guac and chips, salsas, street corn salads or cobbs, red rice & beans. If you want to make something a little more playful, try walking tacos served right out of a Fritos individual size bag! One of my favorite guilty bites is Imperial in Ferndale, MI, and they serve gourmet bacon wrapped hot dogs with Mexican flare. We made these for a party and they were surprisingly easy and equally delicious!

IMG_1568.jpg

Mini cacti and succulents make for great decor and can double as a party favor when put in these El Pato salsa cans! Your local nursery/greenhouse is likely still open and offering curbside pickup. Just make sure you drill a little hole in the bottom of the can and line with small stones or charcoal to allow for proper drainage.

IMG_1530_Original.jpg
IMG_1505 (1).JPG

Now of course, you’ve got to have a piñata! Use whatever candies you have on hand, or support a Mexican grocery store by purchasing a bulk bag of Mexican candies for a really authentic experience! Add some confetti to your Piñata for some extra flare when it’s finally cracked! You can often get a cutely decorated piñata bat or just use any hard stick you can find!

IMG_1536.jpg
IMG_1537.JPG

A fun and easy craft that will make your fiesta pictures even cuter are Mexican flower crowns! You just need a bright colored headband, some faux flowers, and a hot glue gun. Just glue the flowers more centered towards the top to give it more of a Mexican style.

IMG_5606.jpg

The fake flowers for the crowns can double as your centerpiece, just have them sprawled along your table and the kids can pick from them when it’s time to do the craft!

IMG_1542.jpg

They’re pretty cute! You may want one for yourself…

IMG_0828_Original.jpg

As always, please pay close attention to all CDC and governing guidelines to assure your fête is safe for all! If you try this party at home, please tag/hashtag @feteandfinery! I would love to see your pictures!

Items in stock and shipping within 1 week (as of 5/4/20):

Papel Picado (tissue)

Papel Picado (metallic, more durable in wind)

Jarritos (check your local mexican grocer)

Cactus Plates (different version)

Meri Meri Cactus Cupcake Toppers

Floral Chandelier

Fringe Umbrella Parasols

Mylar Pineapple Balloon

Cactus Piñata

Lime Piñata

Piñata Bat

We are in this fight against Coronavirus together, even though we are apart. Until it’s safe for us to gather & celebrate together in-person, there are still ways to make life’s many special moments and milestones special and uniquely yours. For more Party-in-Place free tutorials, click the images below:


This Is How We Roll- Home Roller Rink Party!

IMG_0884.JPG

I apologize if I’ve thrown the word LOVE around too much for any previous party, but when it comes to parties… I absolutely truly and deeply LOVE me a good roller skating party! So much so I even demanded one for my birthday 2 years ago… and will again soon, trust me. :)

IMG_0899.jpg

Of course, a Roller Rink Party doesn’t have to be roller skates, it could easily be rollerblades, but something about roller skates really hits home in the nostalgia department, which is also why I love making it retro styled. You can make it modern if that’s your preference, or do a mixture! I love mixing a retro, vintage feel with some modernism via blacklights and glow products.

IMG_0651.jpg

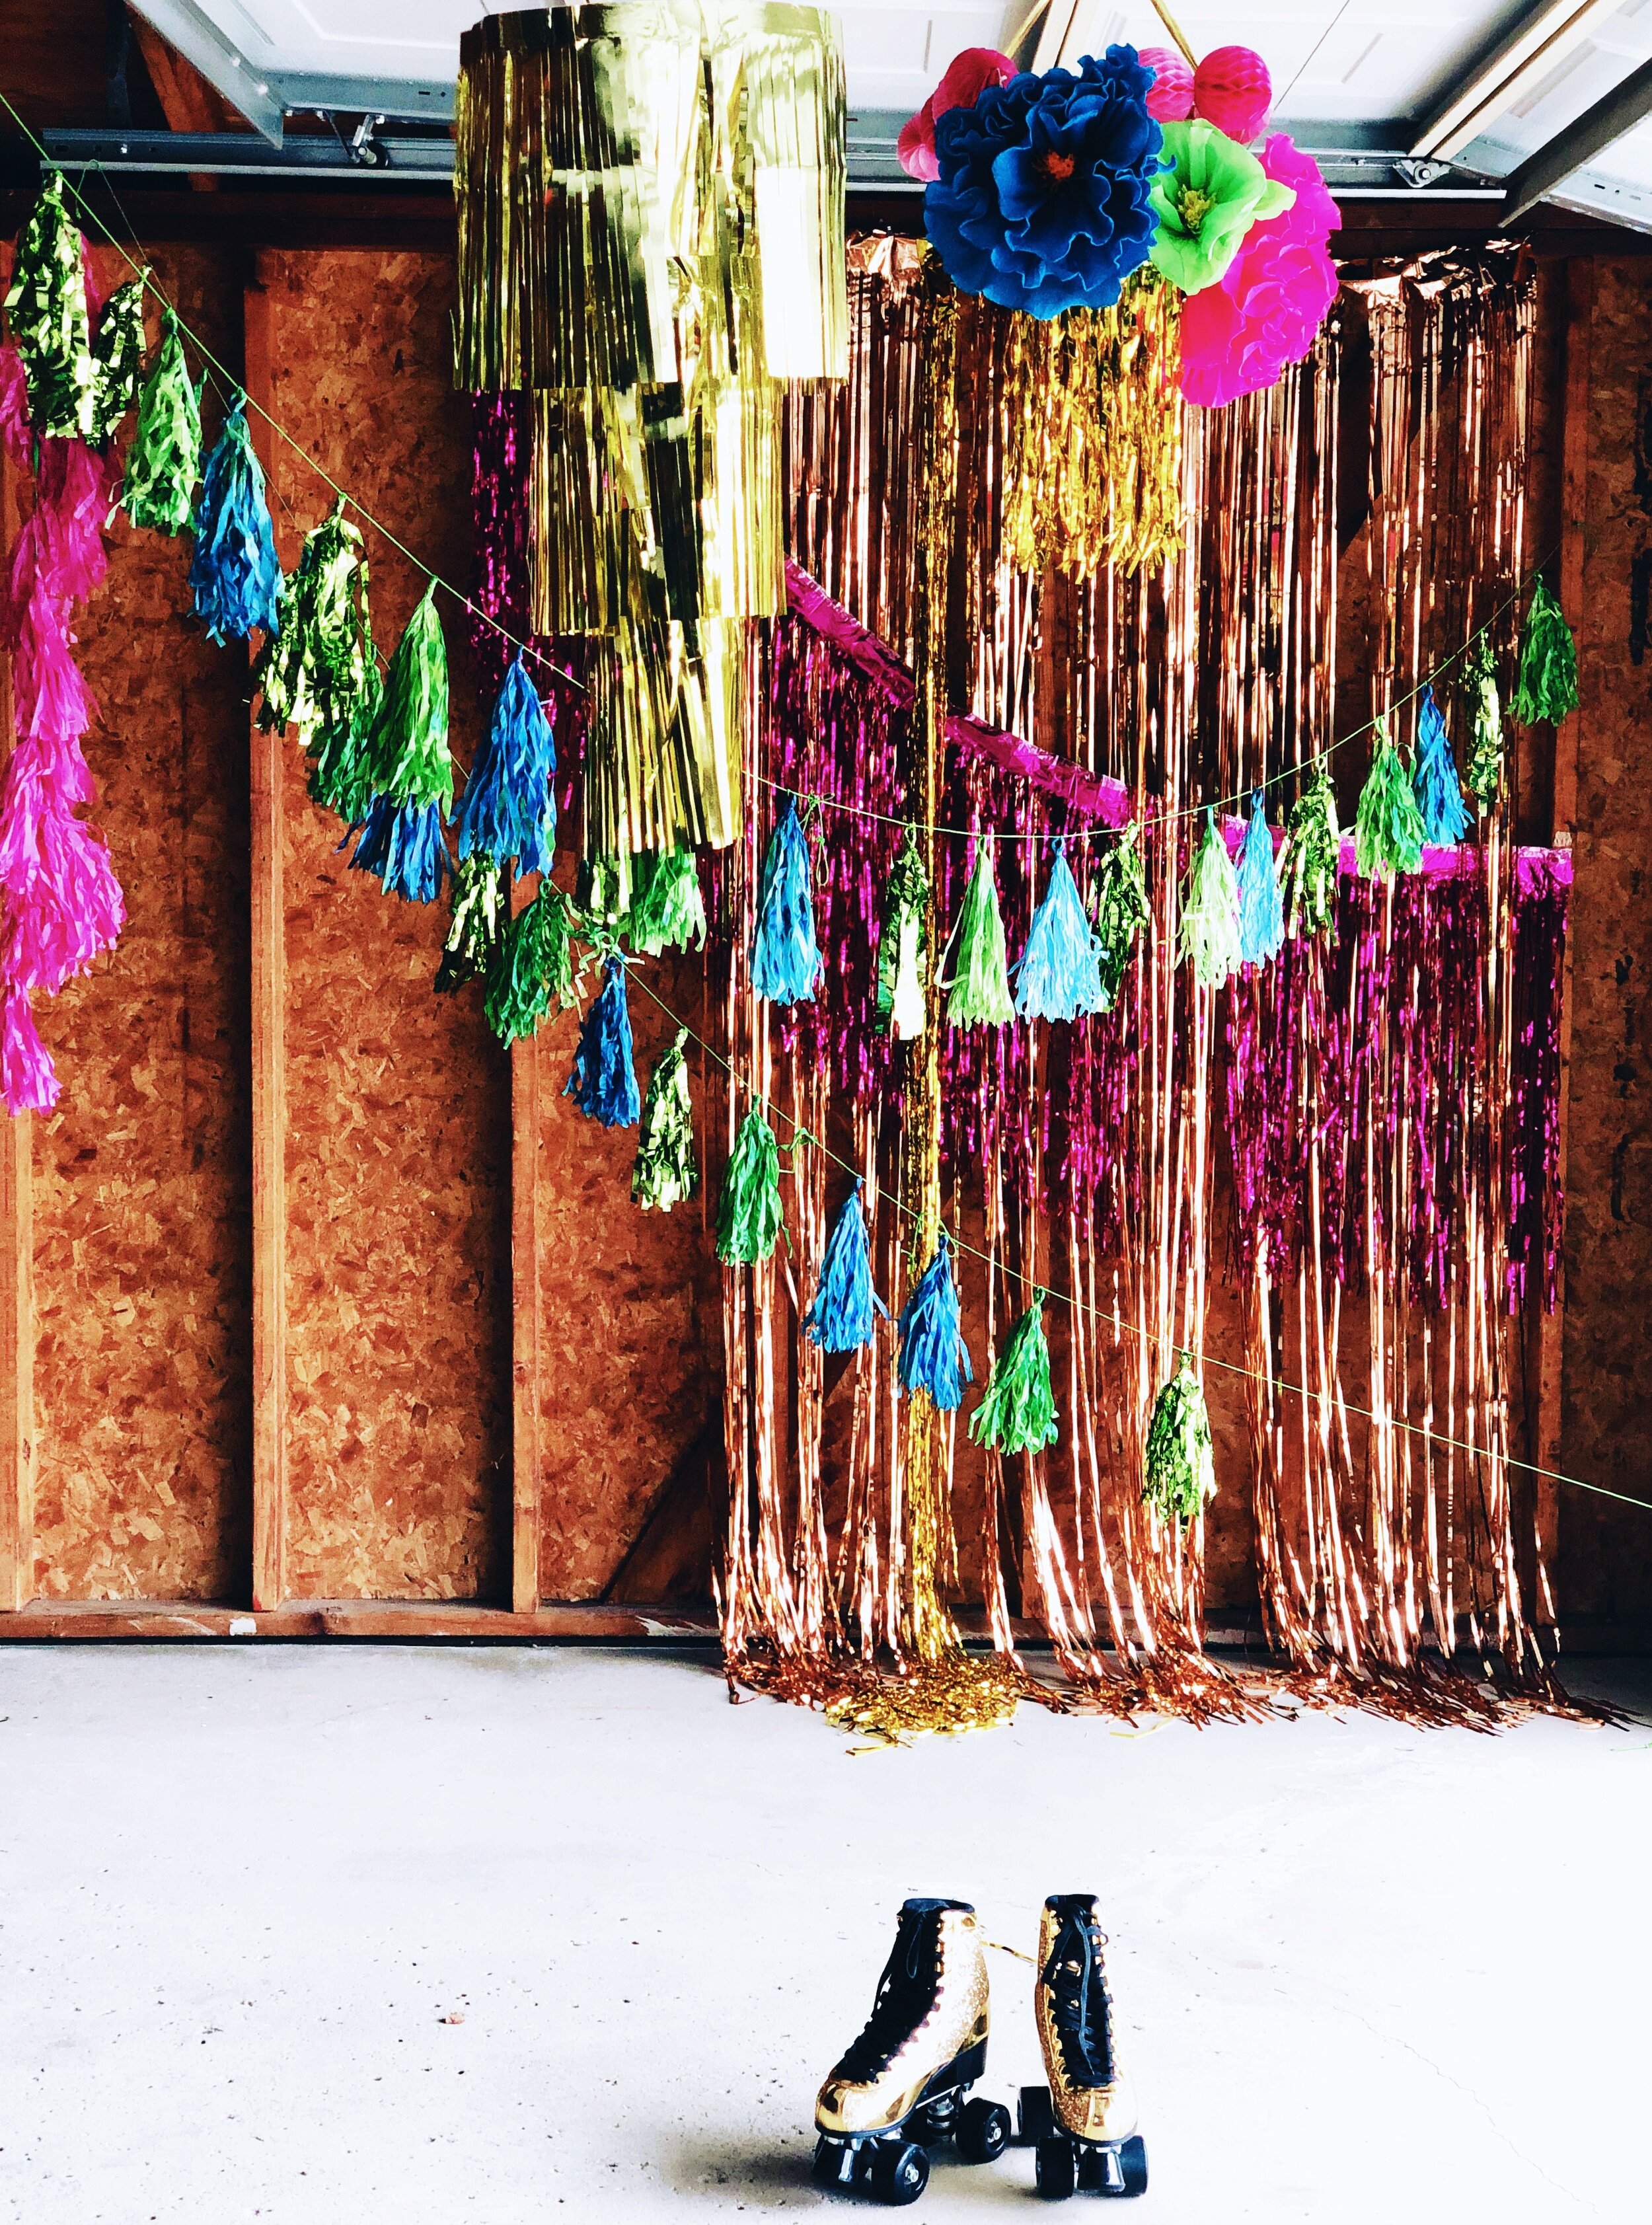
So first things first - the rink. Since your local Skate World or roller rink is not currently an option during quarantine, there are many ways you could make a roller rink at home! An unfinished basement, flat driveway, or cul-de-sac would work great. In this tutorial, I used the party base as the garage, and had it spill into the driveway. I chose to concentrate the decor into one corner of the garage, versus sparsely decorating everywhere, but a few more fringe curtain sets could have completed the wall, or just use string lights (or Christmas lights) to add instant ambiance to the rest of your garage. You could even outline the section of your driveway that will serve as the “rink” with lights.

IMG_0891.JPG

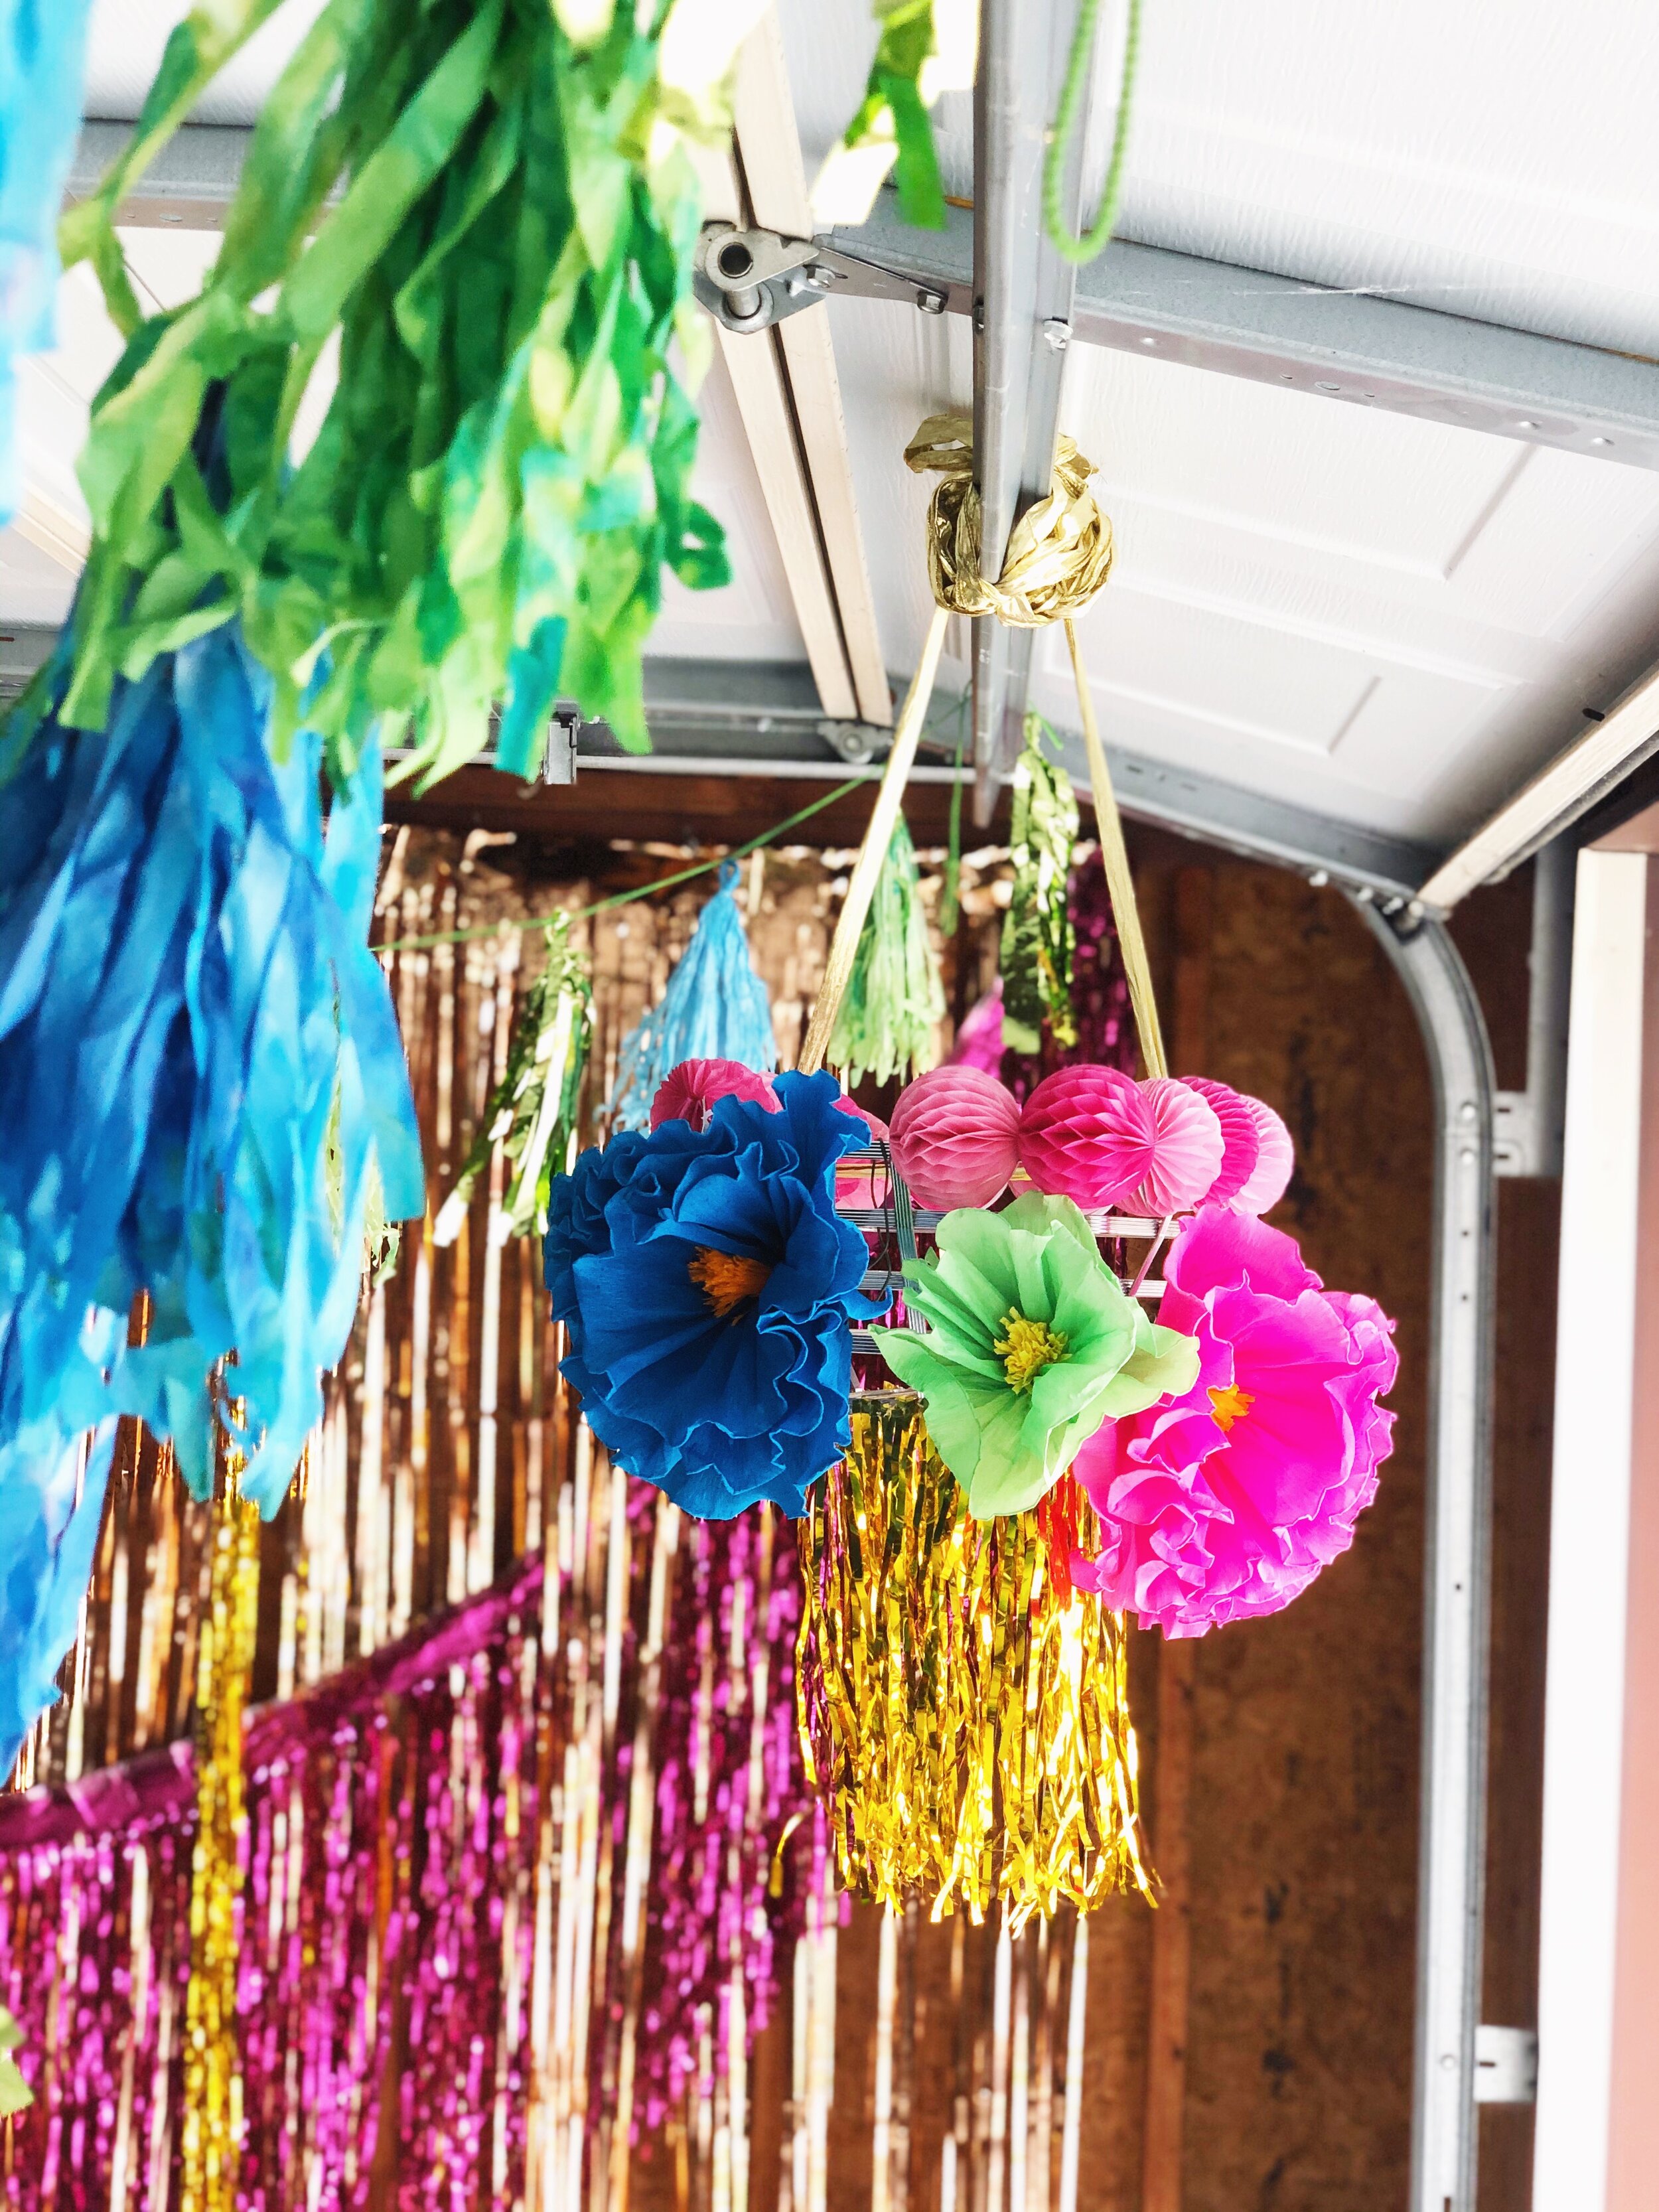
If you keep your garage door up, it will most likely become a dream to hang things from!

IMG_0909.JPG
IMG_0910 (1).JPG

Finalizing your rink is very important, but coming in at a close second- the outfit. I feel like retro socks are a must, and scored these socks at Justice. I bought enough for all the attendees, told them to wear shorts or leggings, and gave each guest a pair as part of their favor, and it really made the photos super adorable!

IMG_1333.JPG

Bombers, athletic shorts, and high socks are a classic go to, or bright spandex leggings or shorts and an oversized sweatshirt/top also work great. A quick “retro roller skating outfit” Pinterest search will give you lots of options.

IMG_7287.jpg

If you have time and patience, customizing roller skates is a great present to gift the birthday boy or girl that could help them feel extra special at their party! I came to learn about customizing skates with ModPodge & glitter when I exhausted my search for cute kids roller skates that didn’t cost hundreds of dollars.

IMG_0671.JPG

I bought a basic white pair from my local roller rink (I will include some online retailers below), bought some colored laces, and got to customizing in the birthday girl’s favorite colors. You basically mix ModPodge and glitter and apply with a paintbrush in coats until you achieve your desired color. I wanted to do each skate half fuchsia and half orange, and used painters tape to make clear lines.

IMG_0670.JPG

When completed, I added some vintage broaches to complete the look, but you could even hot glue gun any embellishment. Old Christmas bows also look adorable on skates and add a lot of whimsy!

IMG_7340.JPG

I added some glow-in-the-dark glitter embellishments to the skates and they lit up pretty well!

IMG_6709.jpg

Speaking of glowing… if you can host your event in an enclosed garage or at night, swap out your regular bulbs for blacklight/UV bulbs and you will have yourself a proper glow affair!

IMG_0885.JPG

I recently did a Glow-in-the-Dark Neon Dance Party, and many of those concepts can easily transfer over to a skating party.

IMG_0886.jpg

One of my favorite purchased elements were these color changing LED balloons. I’ve only seen these white balloons sold individually at Party City for $0.99/balloon, but you could hang these color changing punch balloons from the garage or ceiling like lanterns. You could also easily achieve this look by putting a glow stick inside a latex balloon.

IMG_0908.JPG

I also think these glow in the dark plates/cups/utensils were a great addition and were made well and sturdy enough to be reused (they don’t come with napkins).

IMG_0892.JPG
IMG_0893.JPG

Light up crowns were a hit, and glow in the dark body paint were both super fun and an additional activity or station that can take place during the party.

IMG_7507.jpg

White and neon decor illuminates best if you are going the glow route! Mylar and foil.. not so much.

Now for the cake! This cake was made for a frosting-averse birthday girl, and layers were connected with a crushed oreo chocolate ganache, and served with a dollop of whip cream (vanilla ice cream would be ideal, but we didn’t have freezer access at this venue). I lucked out on a post-Christmas sale and got these roller skate ornaments from Papyrus 70% off!

IMG_7491.JPG
IMG_0896.JPG

As always, please pay close attention to all CDC and governing guidelines to assure your fête is safe for all! If you try this party at home, please tag/hashtag @feteandfinery! I would love to see your pictures!

Items in stock as of 4/25/20 and shipping within 1 week:

Striped Tube Socks - Gap

Toddler Rainbow Striped Tube Socks - Etsy

Soffe Retro Shorts

White Roller Skates - Womens

White Roller Skates - Girls

Black Roller Skates - Boys

Fringe Curtains

Light up Crowns

Glow in Dark Body Paint

Glow in Dark Plating/Cups/Utensils

Martha Stewart Mylar Chandelier (Silver)

Light Up Balloons (Multicolor)

Color Change Punch Balloons

Blacklight Bar

We are in this fight against Coronavirus together, even though we are apart. Until it’s safe for us to gather & celebrate together in-person, there are still ways to make life’s many special moments and milestones special and uniquely yours. For more Party-in-Place free tutorials, click the images below:

Cascarones! Easter Confetti Egg Tutorial

IMG_0377.jpg

Confetti Eggs! I learned of this tradition a few years back in the most random way. I was visiting my family for Easter in Long Island, NY, and had taken my nephews to the library to check out some books. I was half zoned out in line, half listening to the conversation taking place at the counter. “Easter eggs… filled with confetti… smashed…confetti everywhere…”. SOLD. I quickly started doing some google searching on my phone, and learned they were in fact a Mexican tradition called “Cascarones”.

IMG_7177.jpg

Cascarones, or confetti filled eggshells, are an adorable Mexican tradition. The original tradition is said to have originated in Asia as eggs filled with powder or perfume, and then brought to Italy by Marco Polo, and later to Mexico, where powder was substituted for confetti. These are often used for celebrations such as Carnival, New Years, Day of the Dead, Cinco de Mayo and more. When cracked over someone’s head, it is meant to bring good luck to that person.

A614B86D-5CAE-4A87-87F0-EBC8EDB57912.JPG

Now to start, grab some white eggs. Brown works just fine, but the food coloring will be more vibrant with white. You can decorate your eggs however you would like, but I typically opt for the tie-dye method which I will explain below. I typically dye the eggs after emptying them, but because of today’s circumstances and the fact that I mailed some confetti eggs in advance to my nephews in NY, I dyed my eggs first since so that I could make the eggs as needed while conserving materials, and not amass a large quantity of egg yolks/whites in my fridge. This is not ideal, since the moisture will affect your dye job, but they still look cute!

Take the egg, and gently tap the wider end on the counter or a hard surface. When it barely begins to crack, use your finger or a butterknife to gently remove the bits of broken shell until you have a dime sized opening. Since I use the eggs for quiche or whatever I’m making, I’m very careful to not get shell bits into the egg and try to keep the egg membrane intact, and just poke the membrane when the shell is cleared and I’m ready to shake out the egg.

IMG_0337.JPG

Now gently wiggle the egg back and forth until the contents fall out. The yolk is usually the last to fall and takes a little extra wiggling (I’ve yet to keep the yolk intact, if that matters for whatever you are making!).

IMG_0334.GIF

Now that your egg is empty, it’s important to clean it to avoid and salmonella contamination. Boil water and place it in a heat safe boil with dish soap. Completely submerge your eggs and allow them to fill with water. Keep overnight or at least 30 minutes, depending on how much time you have. Allow them to completely air dry or use a blow dryer to assist.

IMG_0338.jpg

This is the point at which I typically dye my eggs, and white foamy (non-gel) shave cream and food coloring is a super quick and super cute way to tie-dye your eggs. Your fingers will get stained, so to avoid this, use gloves! Grab a casserole dish or brownie pan and spread shaving cream across the bottom. Spread food coloring gel all around in any pattern you would like (I used a rainbow gradient… you don’t need to use as much dye as I did). Take a toothpick or butterknife and swirl it through the shaving cream.

7FF5F8DF-C08D-4B4A-9ADE-2E429BBC93BB.JPG

Gently roll your eggs around until they are completely covered and let them sit for about 30 minutes (less is fine).

IMG_0358.JPG

Grab a paper towel or dark colored towel/junk t-shirt and gently wipe the shaving cream mixture off and… viola!

IMG_0356.jpg

After all the moisture is removed, it’s time to fill. If you don’t have confetti on hand, you can easily make your own with cut up tissue paper, regular or construction paper, leftover fake snow from Christmas, glitter (if you’re daring), sequence, or anything colorful with a light texture.

IMG_0339.JPG

Using a funnel or your fingers, place the confetti mixture in the eggs. If you have the materials, a contrast of textures and sizes will make for great pictures! You don’t even need to fill the egg 1/4 of the way to have a nice little confetti explosion. After the egg is filled, it’s time to secure the opening.

IMG_0341.JPG

I think you are technically supposed to use glue and tissue paper, but to skip a step and dry time, I use washi tape. Try to not go to far past the opening or else your egg won’t break as nicely because the tape will semi keep it together.

IMG_0342.JPG

These clear plastic holders make for great holders once all the labels are removed! Cardboard egg holders are definitely better for the environment, but I know we gotta take whatever eggs we can get these days!

IMG_0234.GIF

If using biodegradable materials, doing this outside is best because you will usually catch some wind and create a better confetti explosion!

IMG-0343.JPG

This Easter is definitely going to be unique, in some ways it will be cozy and intimate, but in others it will be our first real holiday reminder that we can’t be with our family and friends. There are still ways to make this Easter special to your household, and to even start new family traditions that you will continue when we can once again celebrate together as we used to. And as Michigan’s Gov. Whitmer recently publicly announced, the Easter Bunny is classified as an essential worker, so get to it! As always, please pay close attention to CDC & government regulations to ensure that your fête is safe for all!

We are in this fight against Coronavirus together, even though we are apart. Until it’s safe for us to gather & celebrate together in-person, there are still ways to make life’s many special moments and milestones special and uniquely yours. For more Party-in-Place free tutorials, click the images below:

Starring: Your Movie Birthday!

As an event planner, it was discouraging (but necessary) to see more and more events postponed or outright cancelled. During these unprecedented times, life is still happening around us, and there are moments and milestones that are still worth celebrating with you and your’s… maybe just differently than you original planned. I will be posting tutorials on past events I have done, and showing first how you can dream up a party you will host down the road when this is all behind us, and also modifications for how you can celebrate on a smaller scale with minimal supplies and still Party-In-Place (and style) during quarantine!

3AFB766F-0914-402C-828B-F716567F4000.JPG

I love movies and (pre-coronavirus) go almost weekly (AMC A-list member, humble brag), so a movie party at your local theatre is a pretty non-labor intensive way to celebrate a birthday. They often have private party rooms for you to congregate with your group before or after for gifts and cake. Some movie theaters allow you to do a special screening of an older movie no longer in theaters, so definitely inquire about that!

So to begin, your movie party needs to start with cute popcorn buckets, and I absolutely love these dollar tree reusable popcorn buckets that come in a 2-pack. Bonus- these fit perfectly in most movie theatre drink holders. These larger popcorn tubs add variety, are good for sharing, would make a unique cake stand substitute, or would serve a popcorn bar well.

EE03F752-7AA1-4B6C-A3CD-F392ACB18607.JPG

Next- funfetti birthday cake popcorn! This is super easy to make. Make your own popcorn or buy a very lightly salted microwaveable variety. Melt white chocolate (ghirardelli is my favorite baking chocolate), mix in a couple spoons of dry funfetti cake mix to your liking, coat your popcorn, top with your sprinkle of choice and mix it around! Tip- use a softer sprinkle or else your popcorn will be very crunchy. I bagged these in treat bags and put them in the Dollar Tree popcorn containers as take home favors.

IMG_0145.JPG

Make that funfetti popcorn work overtime on your Birthday cake: frost a cake white, and then clump fresh funfetti popcorn along the side while it is still a little warm. and congregate some at the top. This cake had a surprise sprinkle center which is always fun to cut into.

IMG_6512.JPG
IMG_6509.JPG

Try popping your own popcorn from kernels! This is the foolproof small batch stovetop popcorn recipe I use. It tastes great and doesn’t have all the who-knows-what that’s in the microwaveable bags. It’s of course easier to use microwaveable popcorn, so don’t feel guilty about using those if you already have them on hand!

Social Distancing Modifications: Even though movie theaters aren’t an option at this time, staying in for a movie has always been a great time! With a few extra steps and some preparation, what may have become a routine time filler can be made into an extra special celebration. Amazon video and iTunes are early releasing in-theater movies to On-demand, but an all time favorite movie would also be a great option.

Quaranteeny Movie Party for your littles: First, create an in-home theatre! Basements are nice and dark, or it can be right in your living room. Pile up some quilts & throw pillows and make a cozy ground viewing area. Stack pillows on one end under the quilt to create plush “recliner seating” to lean against. Use chairs and make it like auditorium seating. Grab some red, purple or black blankets, tablecloths, or towels and make a theatre curtain backdrop using your chimney as a base, or make “theatre curtains” around your TV.

IMG_0132.jpg

Make a “Now Showing/Starring: [Name’s] Birthday!” marquee sign with a lightbox or markers… special shoutout/thank you to my 11-year-old niece for making me these signs with her lightup boxes AND styling AND shooting this pic for me! I’m so proud! :)

IMG_0130.JPG

Create a popcorn bar and fill treat bags with various popcorn flavors, seasonings, and toppings… make your popcorn exactly how you want it, which you may not be able to do in an actual movie theatre. Make salty sweet combos, add birthday sprinkles, add extra butter and gummy worms, go crazy.

Create popcorn holders out of tupperware by alternating red and white construction paper rectangles or download/print a popcorn container wrap off the internet.

Drinks: Make Coke Slushies in your blender out of ice tray pre-frozen coke cubes.

Serve Nachos with cheese sauce or order pizza from a local pizzeria that would really appreciate your business right now! Make a concession stand with those dollar boxed candies or make them as favors.

If you have the facilities to host a party in your yard with an outdoor projection screen, use various ride-on car’s or cardboard boxes + black take-out containers (for wheels) and make it a drive in movie party!

Quarantini Movie Party for Adults: Download the Netflix Party extension and watch a movie at the same time as your friends, as well as comment in a chat thread visible alongside your feature film! Make spiked jack + cherry coke slushi (Coke of your choice ice cubes + whiskey + extra ice + a maraschino cherry to garnish).

Here are some links for items you can order online to enhance your party:

In Stock as of 4/3/20 and shipping within 1 week:

Popcorn Buckets - Individual: This is a 20 pack, but it’s handy to have extras for group movies or having company (Dollar Tree is currently not shipping).

Large Popcorn Bucket: Vintage feel, rounded

Light-up Letter Box

Movie Night Chalkboard Sign

Movie Ticket/Invite: Instant download, print at home

Shipping 1+ week(s):

Movie Projector for iPhone: I have never used one of these, but I’m very curious! You could use this to project off any blank wall or for your outdoor movie nights on a white sheet/canvas!

Kernel Popcorn Butter Spray: Get your stopwatch, 0 calories for 1/3 second spray! You may be able to get this at your local grocery store via instacart. Coating with butter is sometimes messy and hard to evenly distribute so this may be a great alternative!

****

Here are some creative photos I’ve found on Pinterest and elsewhere that showcase how other’s have done an at-home movie party (comment below for credits):

As always, please pay close attention to CDC & government regulations to ensure that your fête is safe for all!

We are in this fight against Coronavirus together, even though we are apart. Until it’s safe for us to gather & celebrate together in-person, there are still ways to make life’s many special moments and milestones special and uniquely yours. For more Party-in-Place free tutorials, click the images below: