Confetti Eggs! I learned of this tradition a few years back in the most random way. I was visiting my family for Easter in Long Island, NY, and had taken my nephews to the library to check out some books. I was half zoned out in line, half listening to the conversation taking place at the counter. “Easter eggs… filled with confetti… smashed…confetti everywhere…”. SOLD. I quickly started doing some google searching on my phone, and learned they were in fact a Mexican tradition called “Cascarones”.

Cascarones, or confetti filled eggshells, are an adorable Mexican tradition. The original tradition is said to have originated in Asia as eggs filled with powder or perfume, and then brought to Italy by Marco Polo, and later to Mexico, where powder was substituted for confetti. These are often used for celebrations such as Carnival, New Years, Day of the Dead, Cinco de Mayo and more. When cracked over someone’s head, it is meant to bring good luck to that person.

Now to start, grab some white eggs. Brown works just fine, but the food coloring will be more vibrant with white. You can decorate your eggs however you would like, but I typically opt for the tie-dye method which I will explain below. I typically dye the eggs after emptying them, but because of today’s circumstances and the fact that I mailed some confetti eggs in advance to my nephews in NY, I dyed my eggs first since so that I could make the eggs as needed while conserving materials, and not amass a large quantity of egg yolks/whites in my fridge. This is not ideal, since the moisture will affect your dye job, but they still look cute!
Take the egg, and gently tap the wider end on the counter or a hard surface. When it barely begins to crack, use your finger or a butterknife to gently remove the bits of broken shell until you have a dime sized opening. Since I use the eggs for quiche or whatever I’m making, I’m very careful to not get shell bits into the egg and try to keep the egg membrane intact, and just poke the membrane when the shell is cleared and I’m ready to shake out the egg.

Now gently wiggle the egg back and forth until the contents fall out. The yolk is usually the last to fall and takes a little extra wiggling (I’ve yet to keep the yolk intact, if that matters for whatever you are making!).

Now that your egg is empty, it’s important to clean it to avoid and salmonella contamination. Boil water and place it in a heat safe boil with dish soap. Completely submerge your eggs and allow them to fill with water. Keep overnight or at least 30 minutes, depending on how much time you have. Allow them to completely air dry or use a blow dryer to assist.

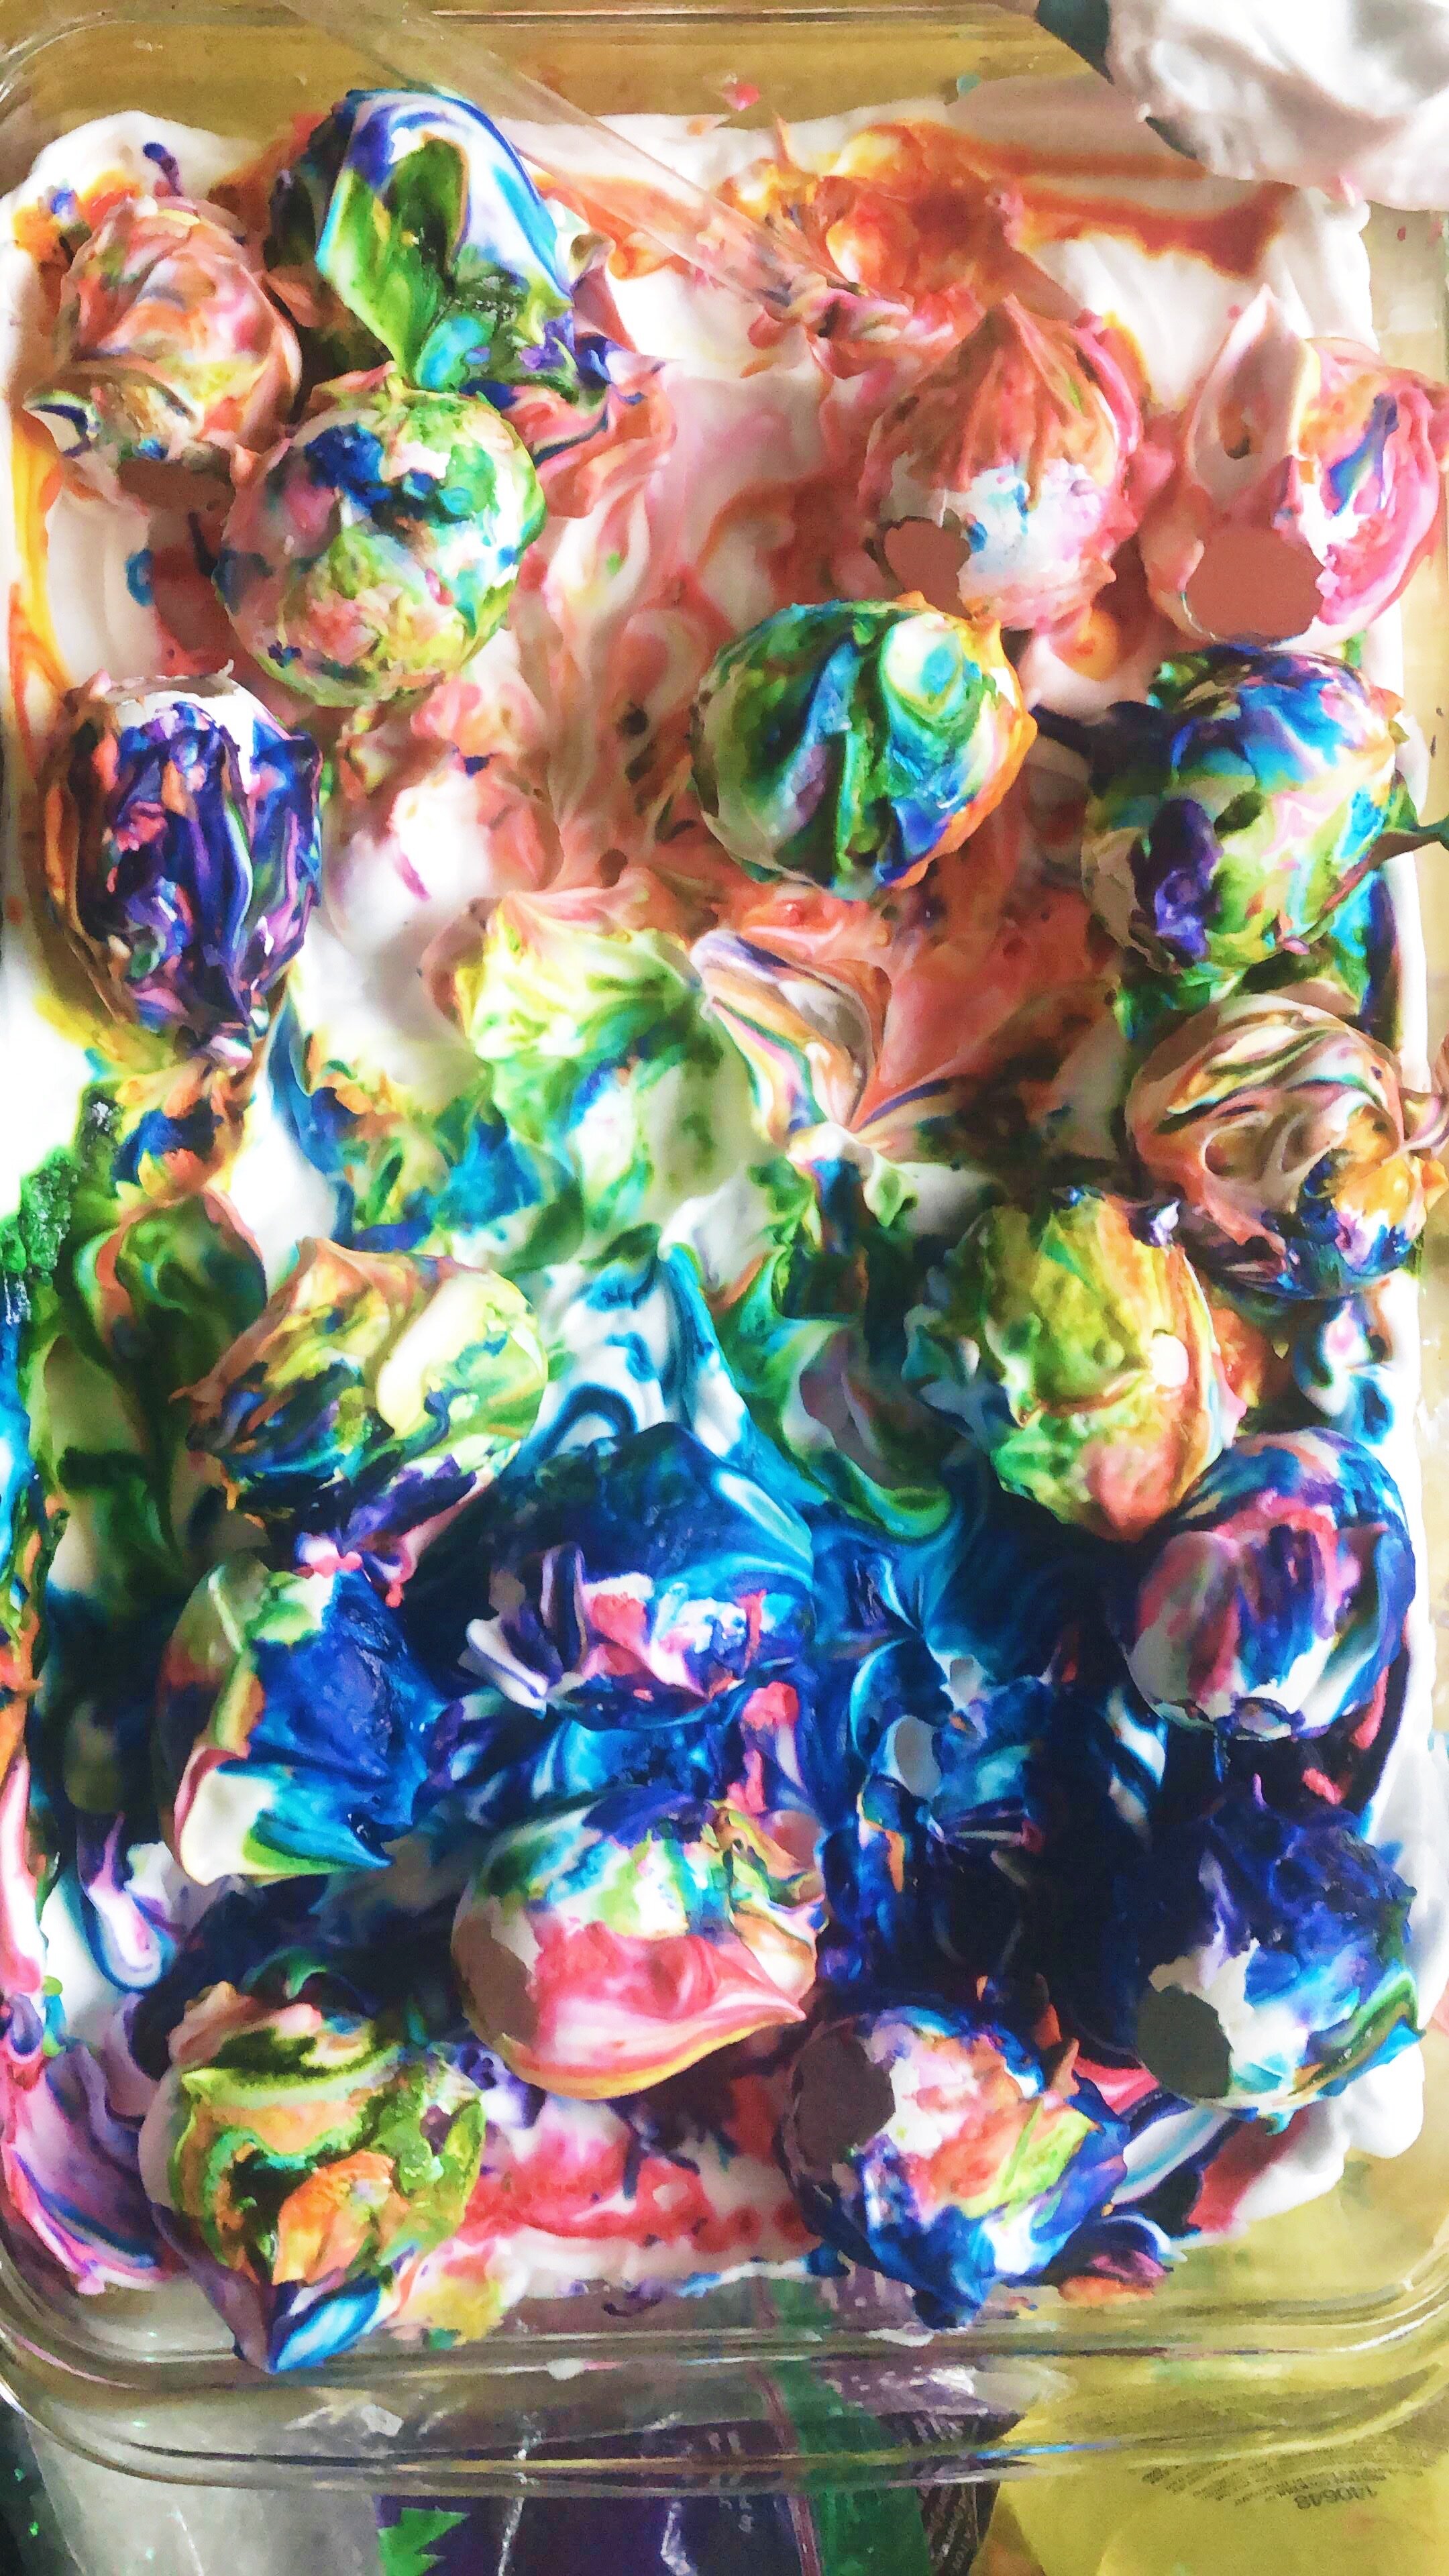
This is the point at which I typically dye my eggs, and white foamy (non-gel) shave cream and food coloring is a super quick and super cute way to tie-dye your eggs. Your fingers will get stained, so to avoid this, use gloves! Grab a casserole dish or brownie pan and spread shaving cream across the bottom. Spread food coloring gel all around in any pattern you would like (I used a rainbow gradient… you don’t need to use as much dye as I did). Take a toothpick or butterknife and swirl it through the shaving cream.

Gently roll your eggs around until they are completely covered and let them sit for about 30 minutes (less is fine).
Grab a paper towel or dark colored towel/junk t-shirt and gently wipe the shaving cream mixture off and… viola!

After all the moisture is removed, it’s time to fill. If you don’t have confetti on hand, you can easily make your own with cut up tissue paper, regular or construction paper, leftover fake snow from Christmas, glitter (if you’re daring), sequence, or anything colorful with a light texture.

Using a funnel or your fingers, place the confetti mixture in the eggs. If you have the materials, a contrast of textures and sizes will make for great pictures! You don’t even need to fill the egg 1/4 of the way to have a nice little confetti explosion. After the egg is filled, it’s time to secure the opening.

I think you are technically supposed to use glue and tissue paper, but to skip a step and dry time, I use washi tape. Try to not go to far past the opening or else your egg won’t break as nicely because the tape will semi keep it together.

These clear plastic holders make for great holders once all the labels are removed! Cardboard egg holders are definitely better for the environment, but I know we gotta take whatever eggs we can get these days!

If using biodegradable materials, doing this outside is best because you will usually catch some wind and create a better confetti explosion!

This Easter is definitely going to be unique, in some ways it will be cozy and intimate, but in others it will be our first real holiday reminder that we can’t be with our family and friends. There are still ways to make this Easter special to your household, and to even start new family traditions that you will continue when we can once again celebrate together as we used to. And as Michigan’s Gov. Whitmer recently publicly announced, the Easter Bunny is classified as an essential worker, so get to it! As always, please pay close attention to CDC & government regulations to ensure that your fête is safe for all!


We are in this fight against Coronavirus together, even though we are apart. Until it’s safe for us to gather & celebrate together in-person, there are still ways to make life’s many special moments and milestones special and uniquely yours. For more Party-in-Place free tutorials, click the images below: